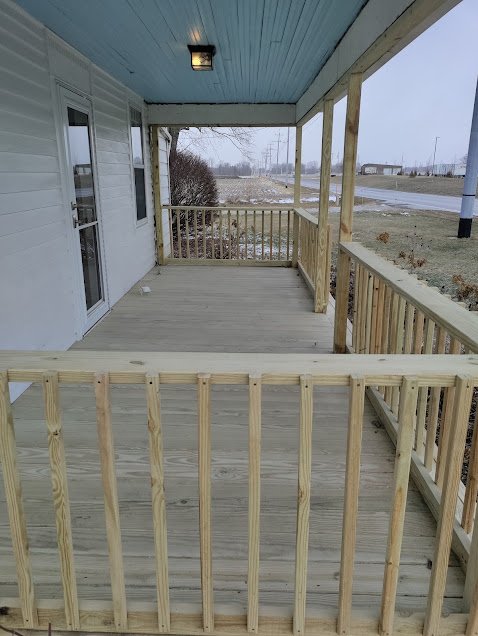
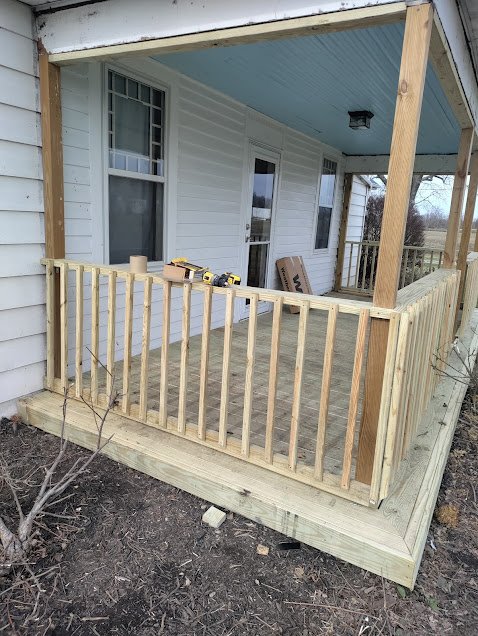

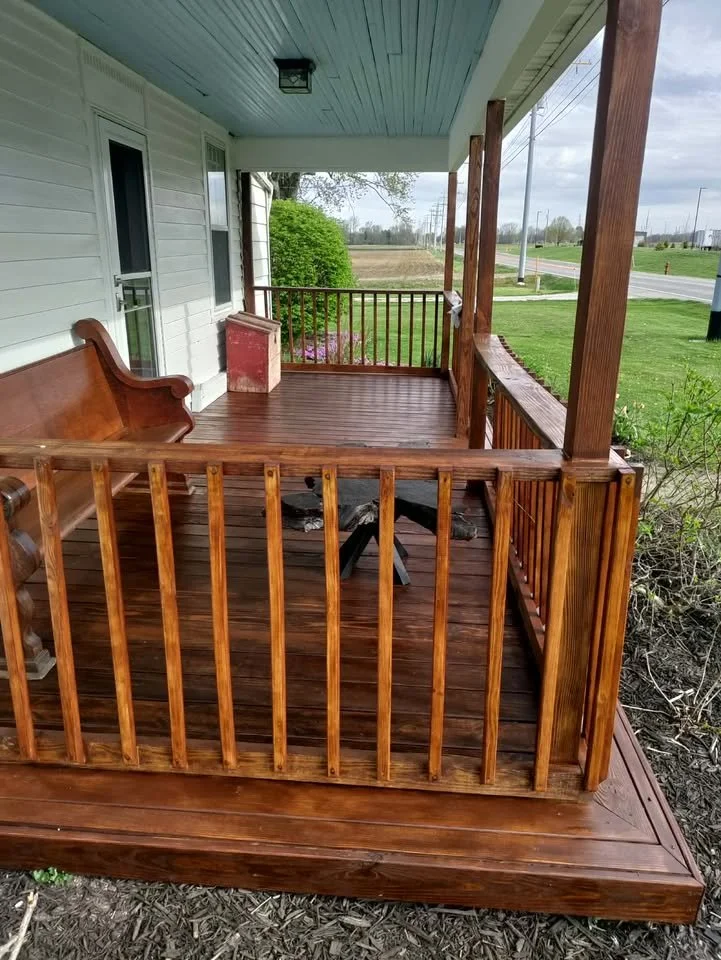
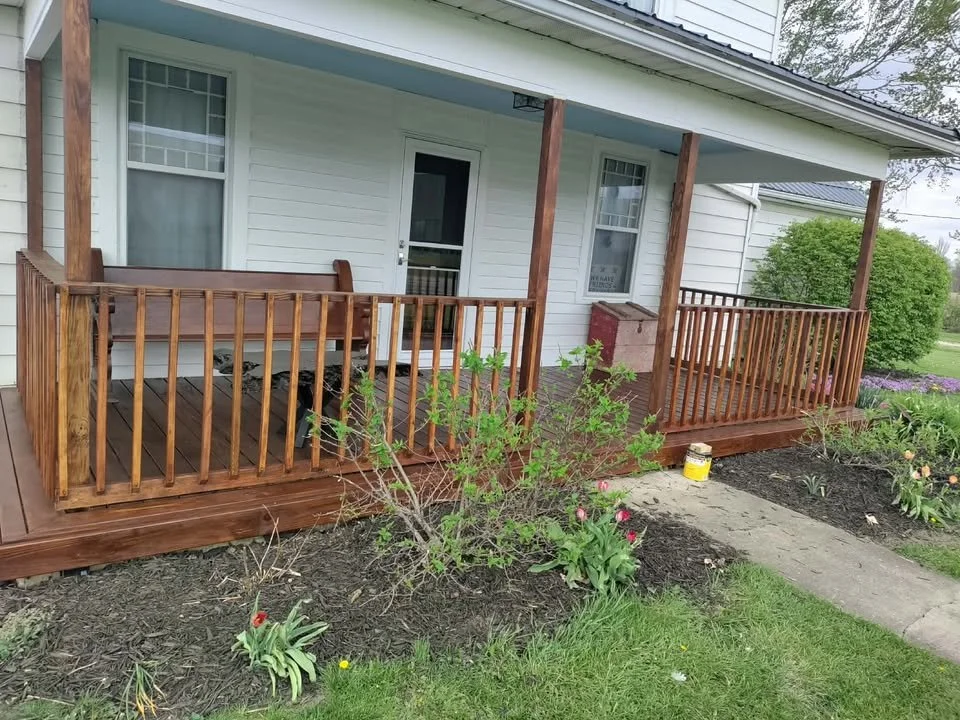
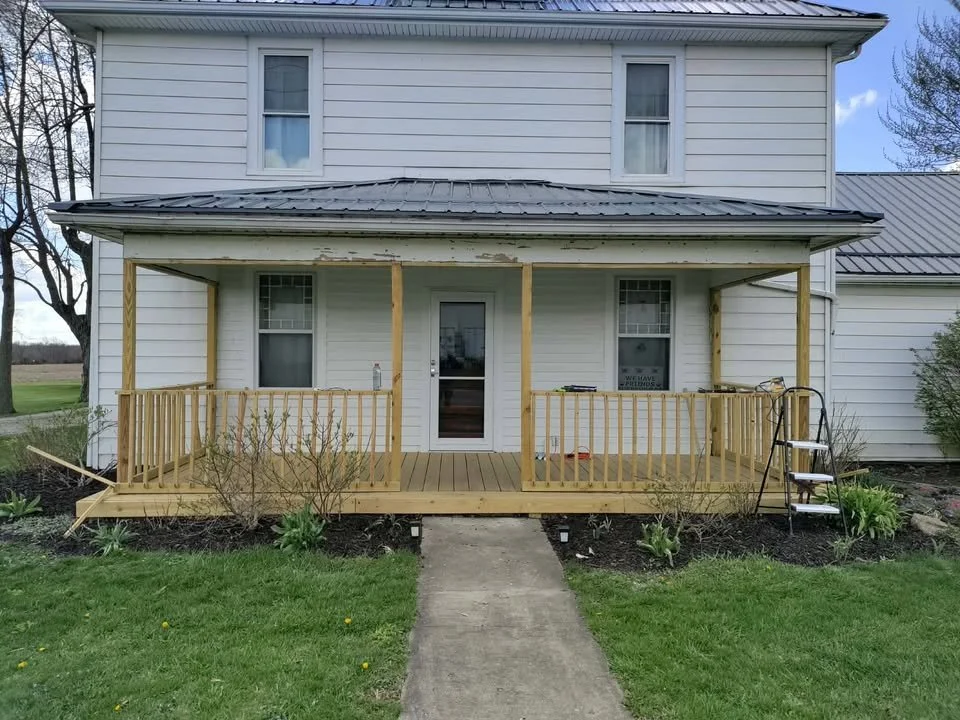
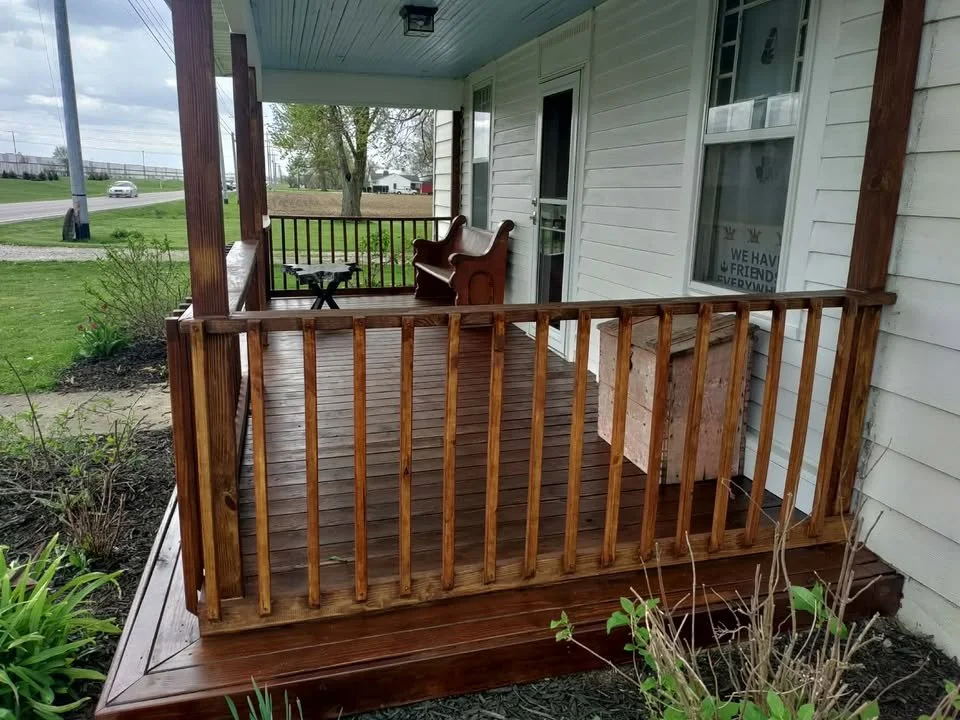
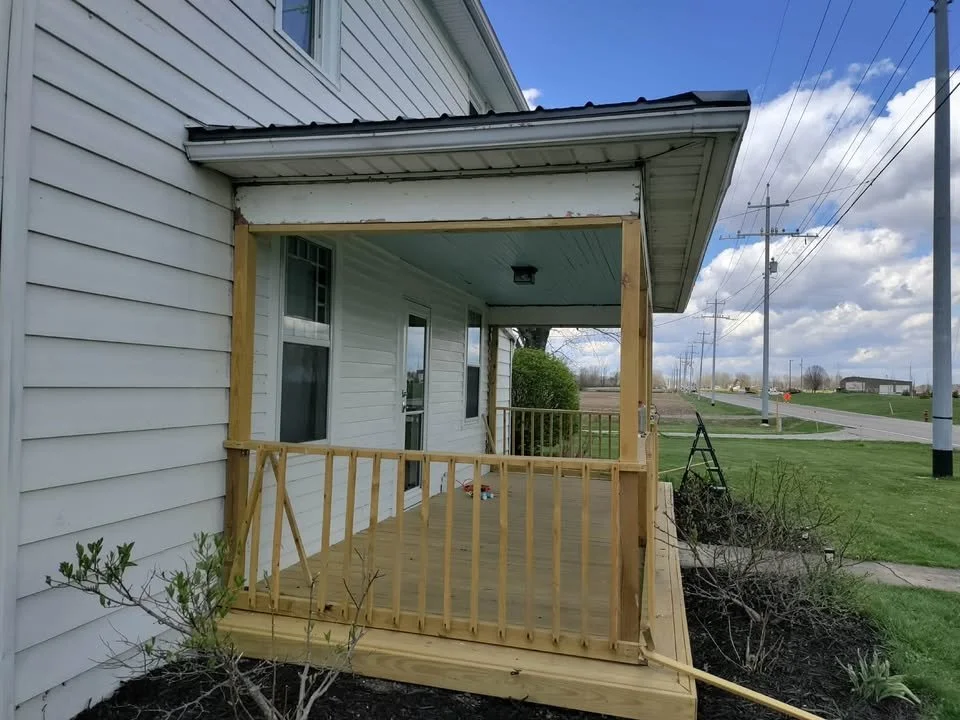
As promised, finish pictures!
It took me a few days but I re-sanded everything and stained it twice.
I forgot just how much work it is to stain a porch. Handrails, spindles, flooring, and in between everything. We did a good job and it’s a good testament to good work and patience. It was all worth it for this client to be able to enjoy a porch for a lifetime.
Call me for an estimate. (614) 948 - 8263.
Thanks.
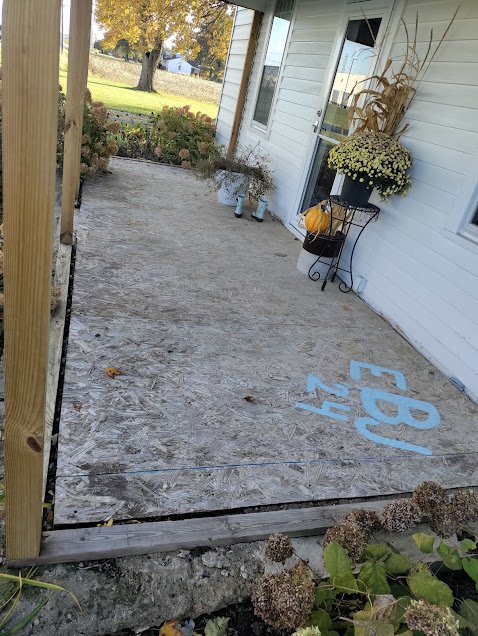
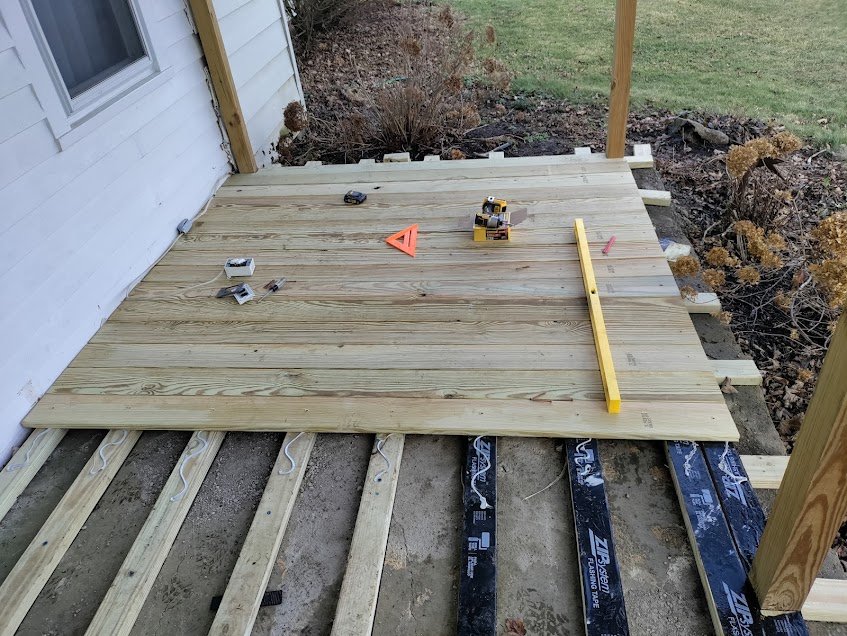
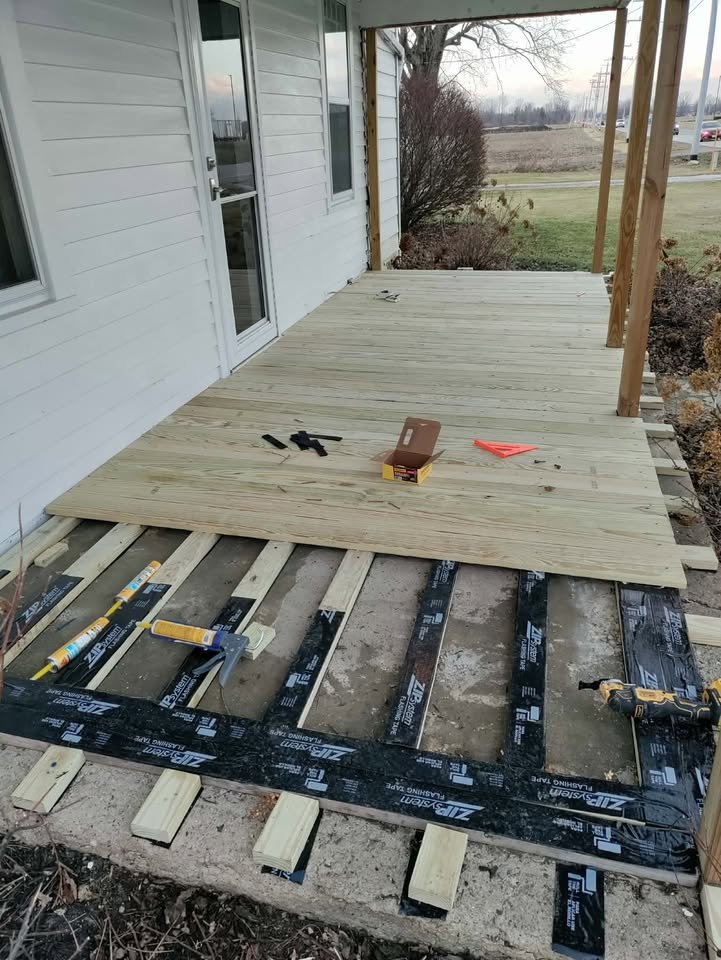
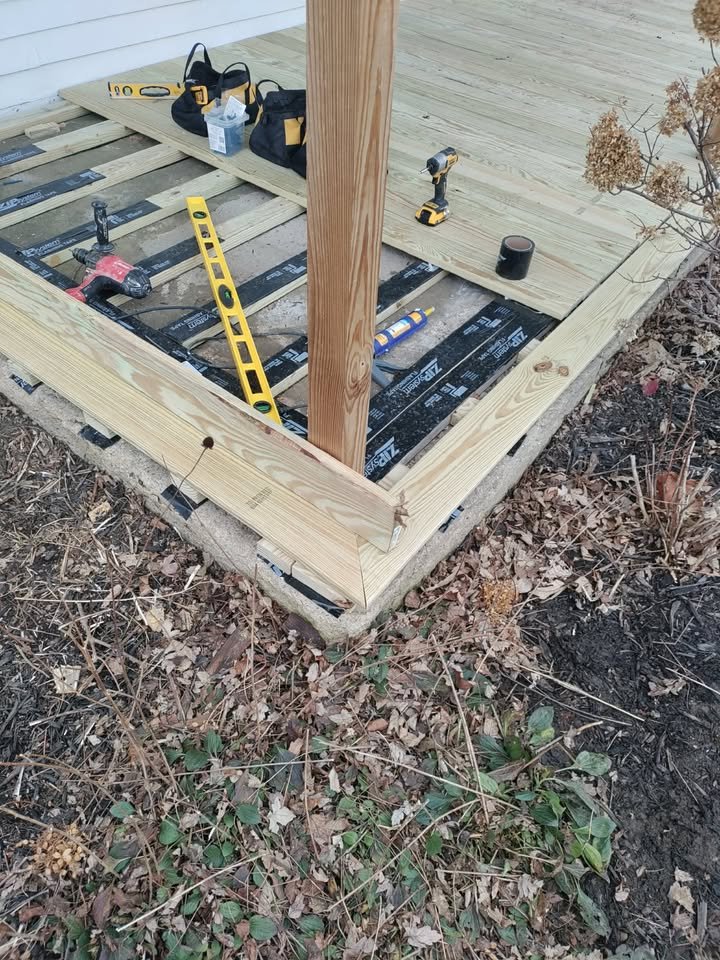
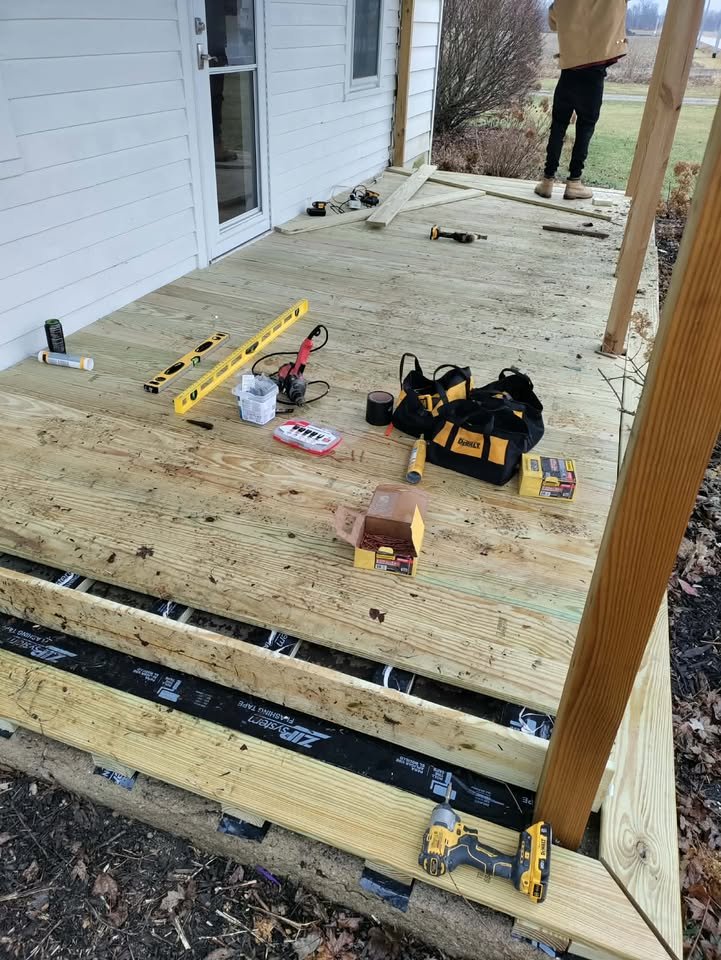
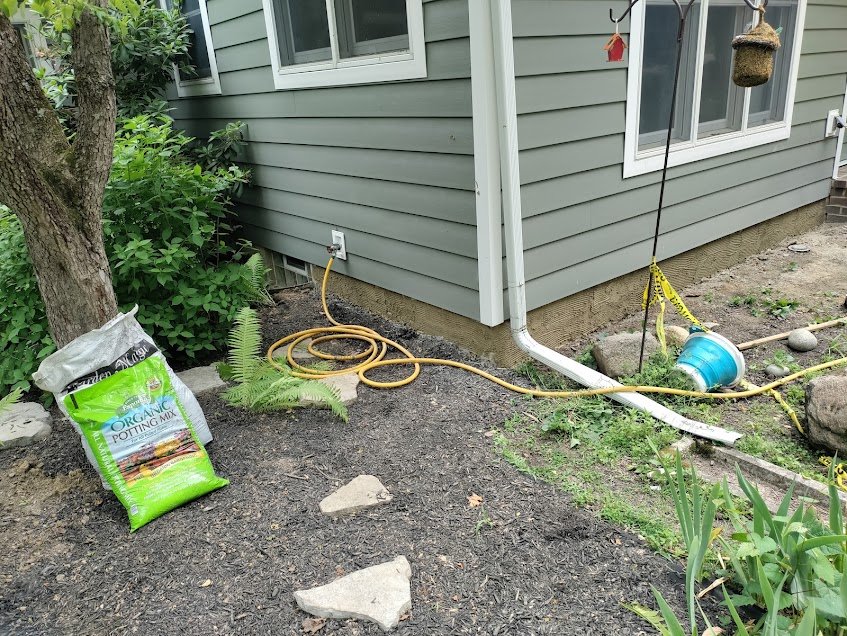
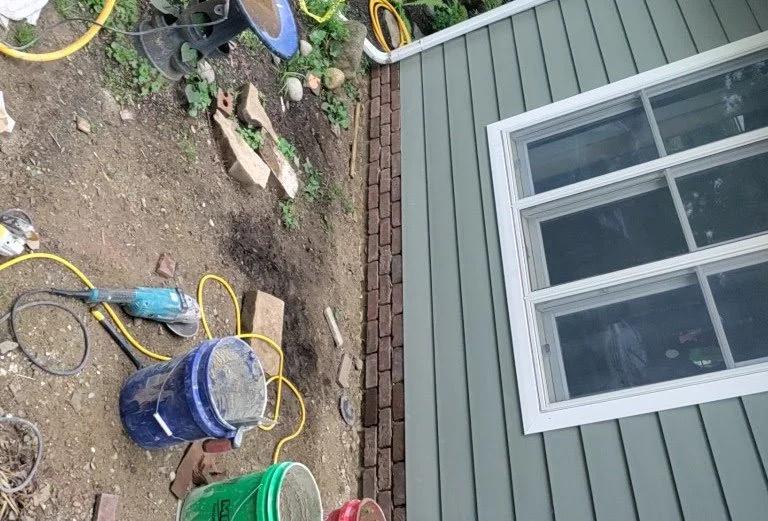
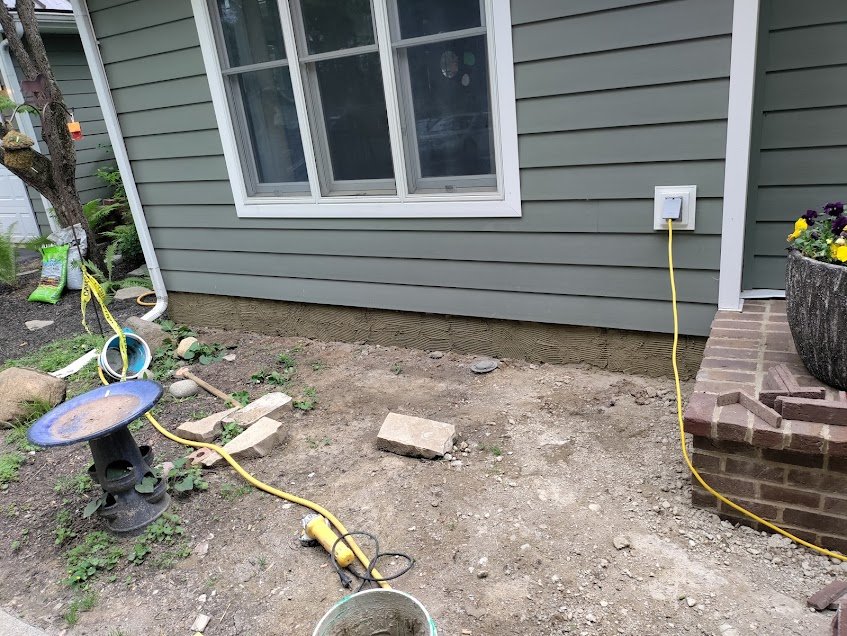
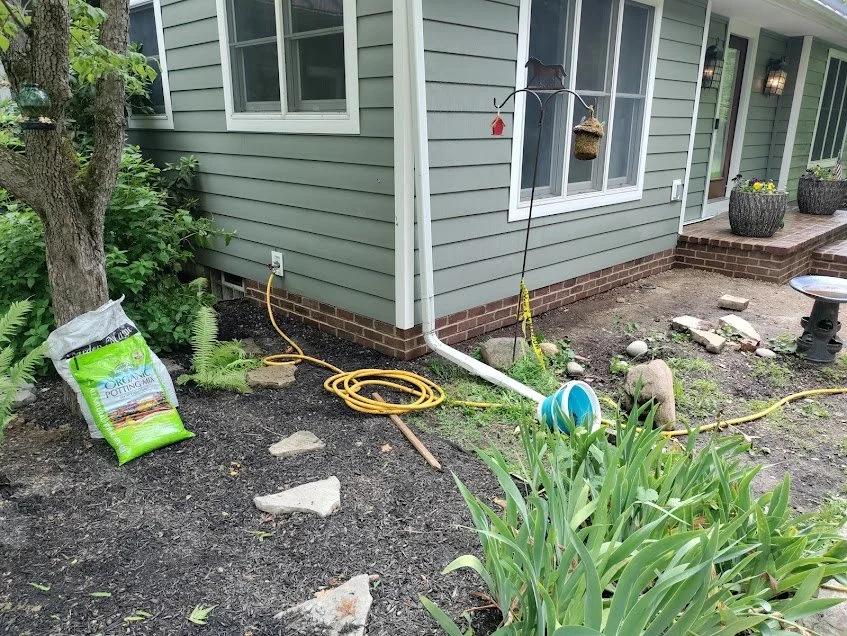
This is a job we did for a customer in early January. It was nice for a few days when we started, and then it got pretty cold. These are before and after photos. The OSB was tap conned into concrete and seemed like it had been for quite some time. It was all rotted and we had to cut the wood away from the screws and break the screws with a hammer. We patched the concrete in some areas, laid weather tape where the concrete meets the wood joists (where we used PT 2x4s laid on their side) and put joist tape on top of the joists several feet in from the outer edges of the porch (Even the small pieces on the outside, they were taped after the pictures were taken). Then we ran an orbital sander, a pass with a 60 grit sandpaper and a pass with a 100 grit sandpaper over the handrails, spindles, posts, porch fascia and the frieze board, then we ran a floor sander over the rest. Will be giving the wood a few months before we stain it, and paint the rest of the porch. It’s going to look great, stay tuned!

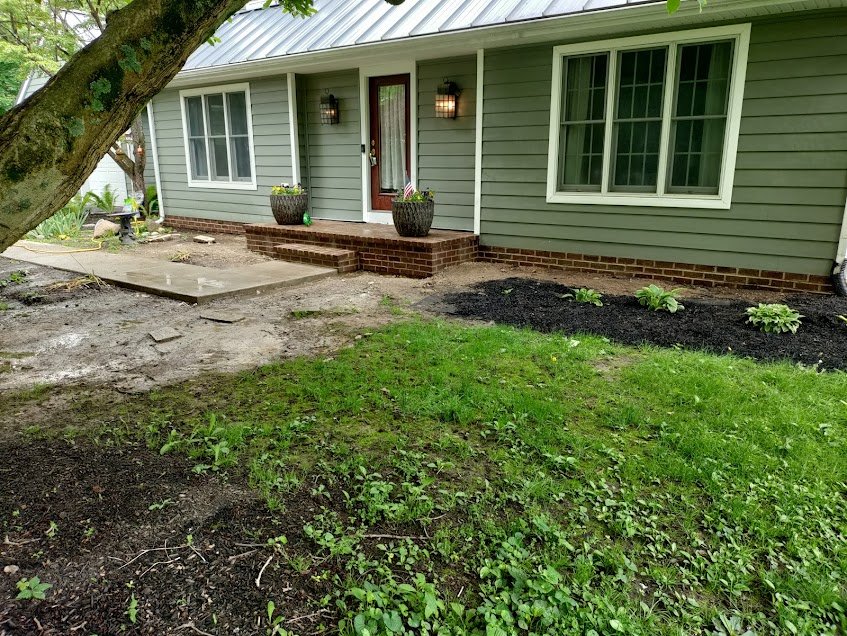
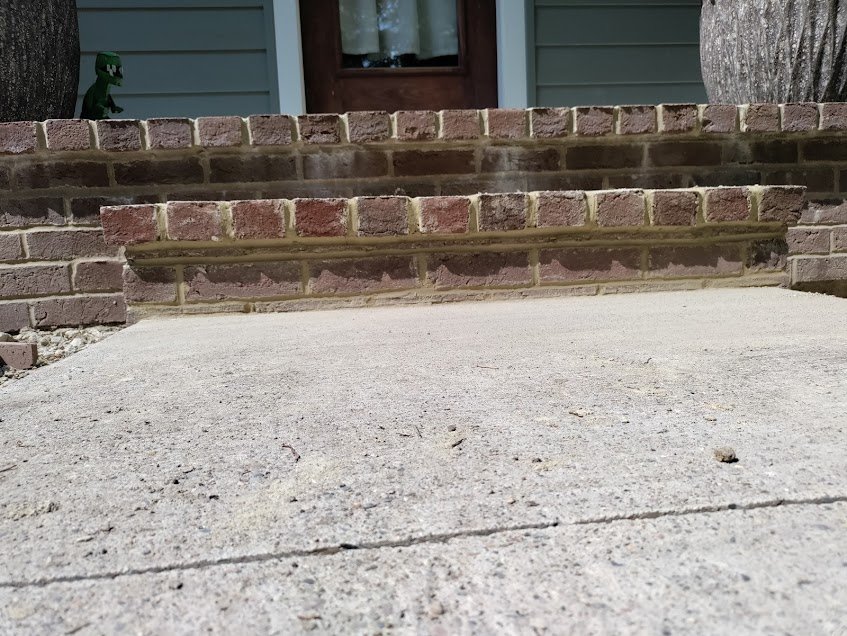
This project we did some time back in May or June of 2025, this was a subcontract. We were hired to install the veneer brick and the step, but we did not do the porch. This was in Granville, I still remember the homeowners, they were nice people. Theres something satisfying about grouting brick and striking the grout. Anyway, I think it turned out great.
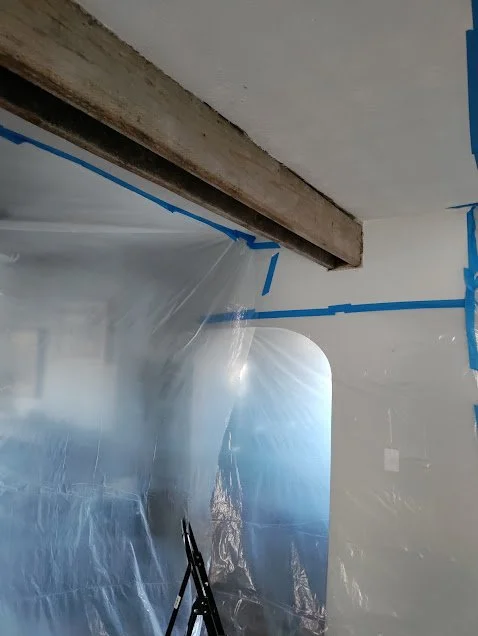
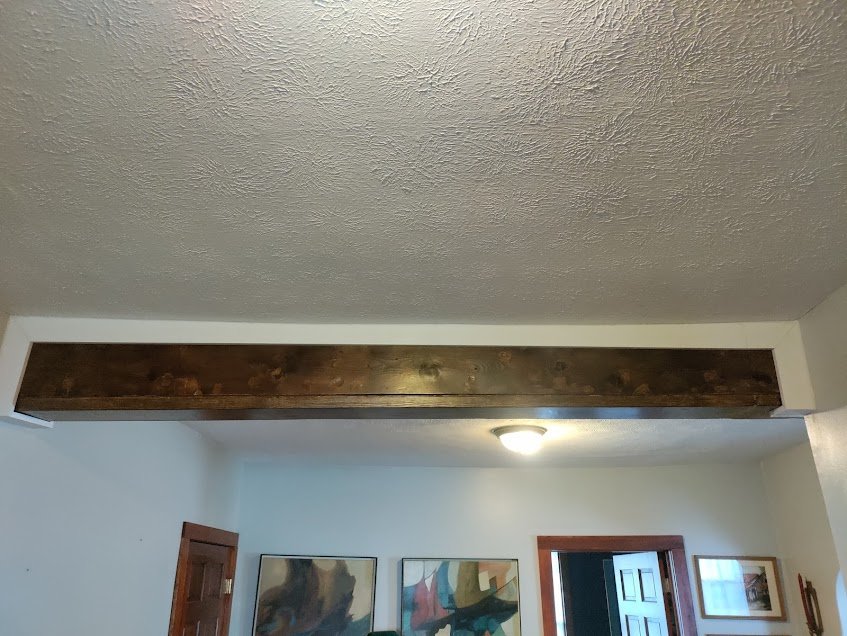
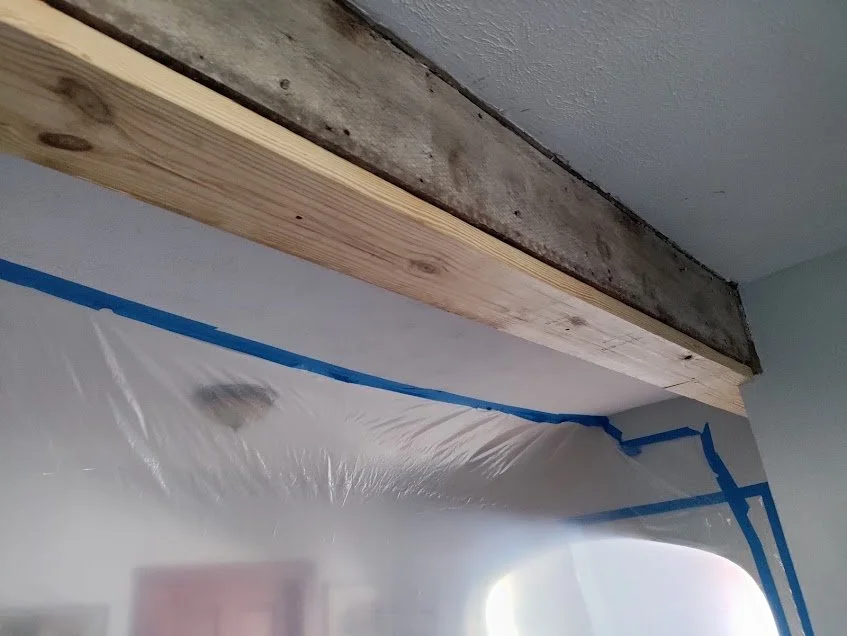
We capped an interior beam with a 2x8, sanded, filled, stained, clear coated, and added white trim. This is a project we did for the same homeowner we built the porch for, this is also January of 26. We created a plastic enclosure around the beam to keep the dust out of the rest of the house.
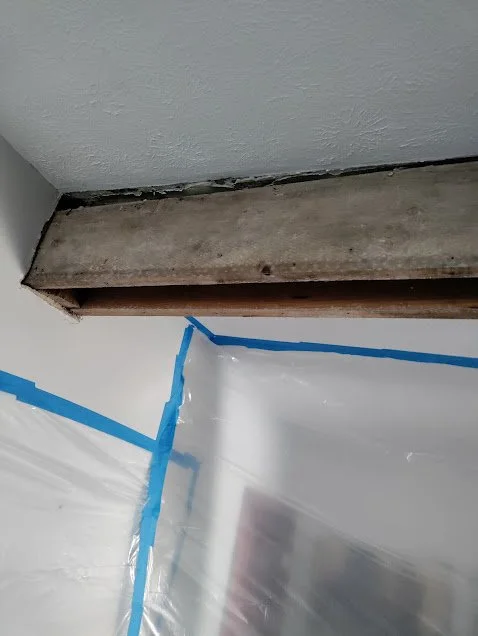
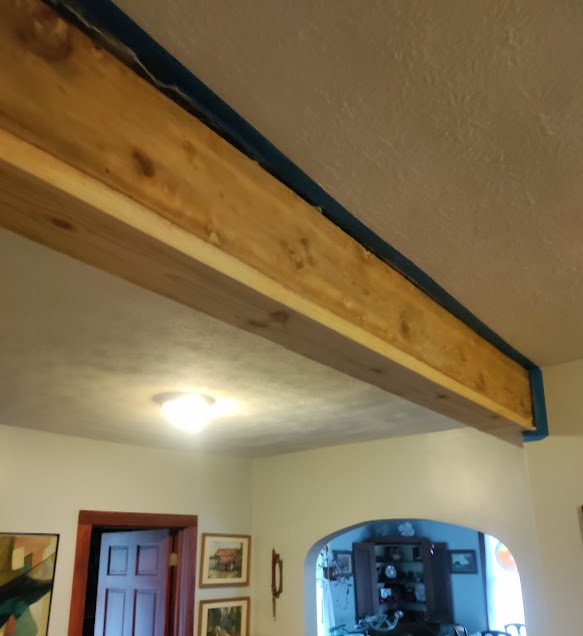
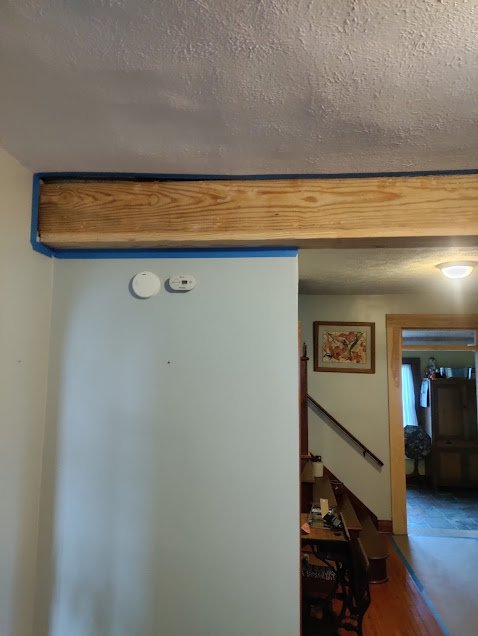
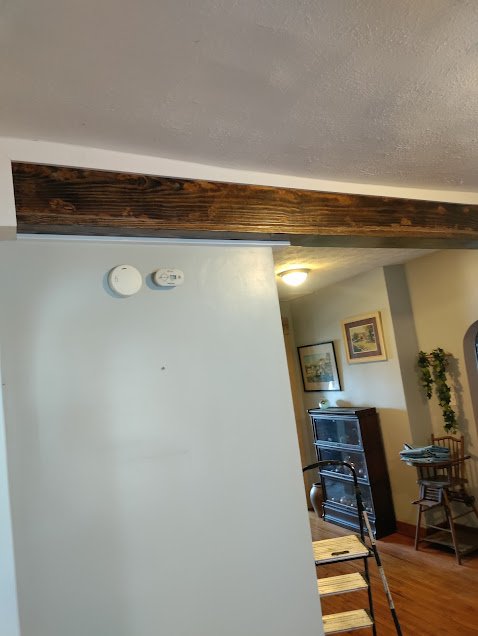
We also scribed the trim to the ceiling because of the giant cap in the corners of the ceiling.
This project was a much needed improvement and Hanes Family Renovations is happy to have provided that.
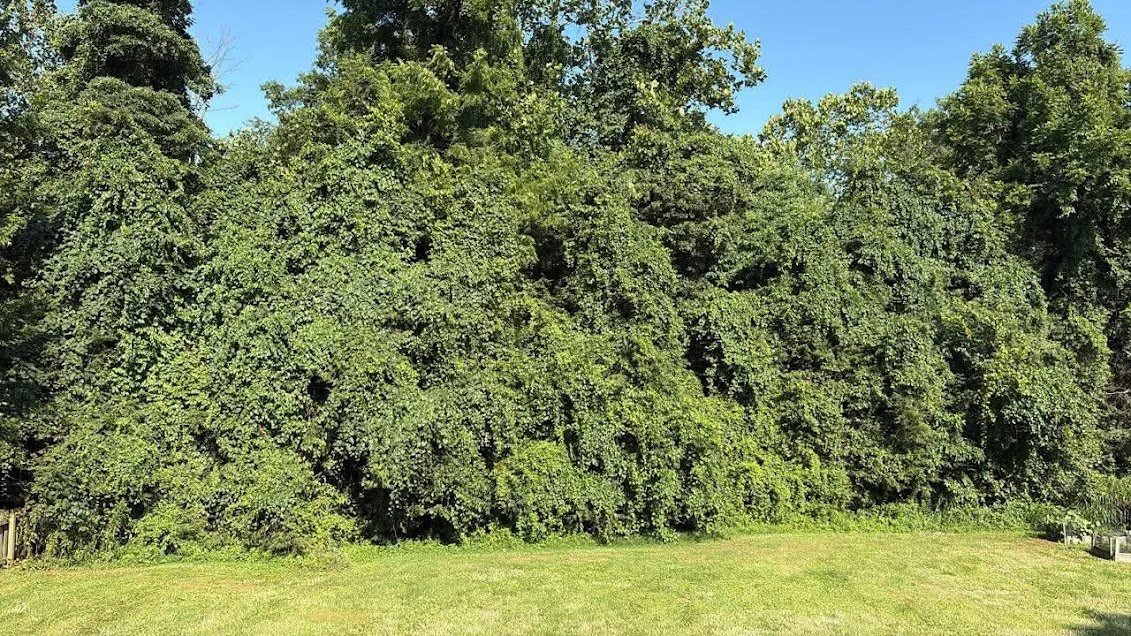
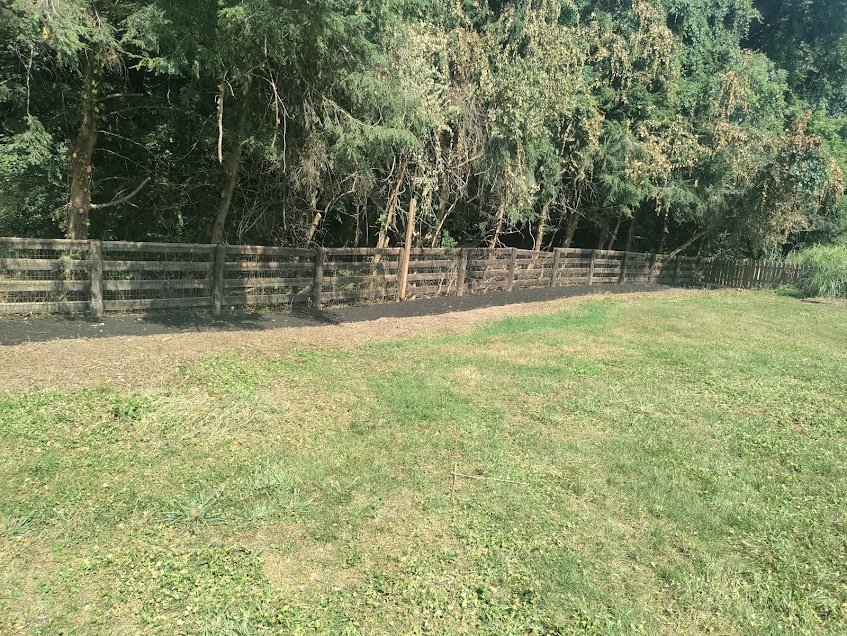
So there’s only a few pictures of this one, and I don’t know if the pictures reflect just how much work this one was, but this will be fun to walk you through.
So the whole thing was full of poison ivy, it was tangled in the trees and everything. They had been living there for 13 years and had never seen their fence. With some research, this is what we came up with.
Dawn dish soap neutralizes poison ivy.
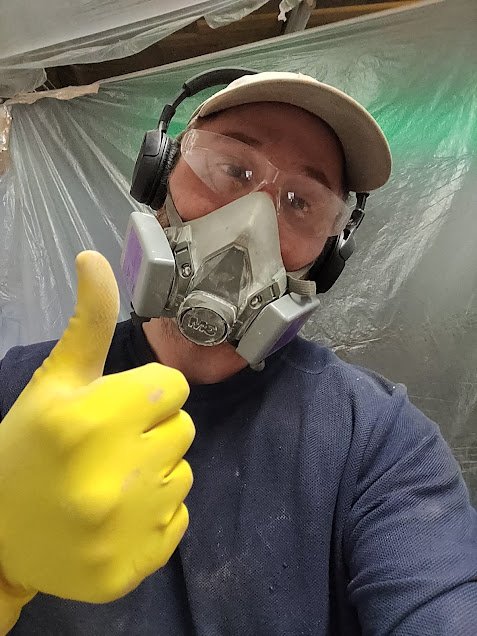
Wear full tyvek suits with 2 sets of gloves, rubber boots, a pair of nitrile gloves and rubberized gloves, dip them in a tub of dawn dish soap, and get to work.
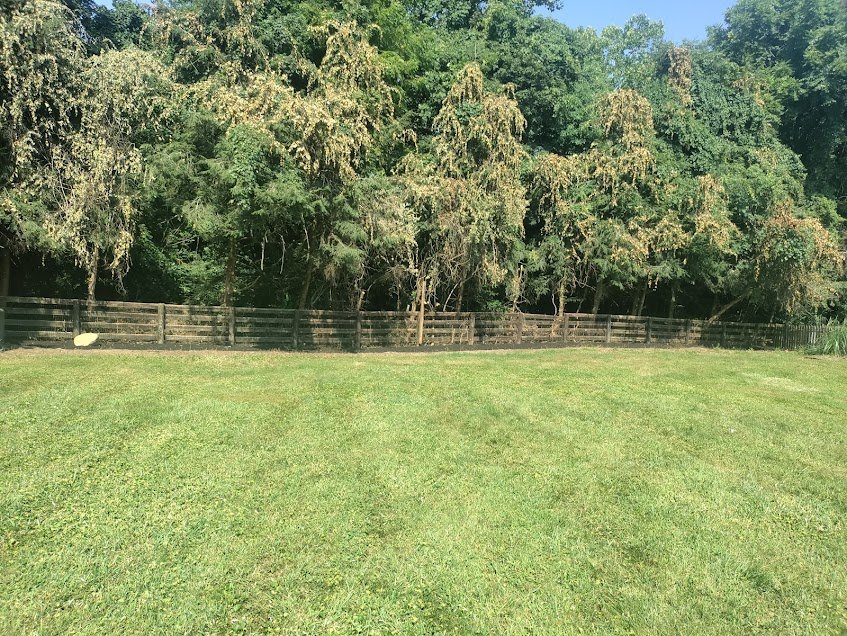
Amazingly, it worked.
This job was and is a statement that shows just how dedicated and committed to doing a great job and serving our customers we are at Hanes Family Renovations.
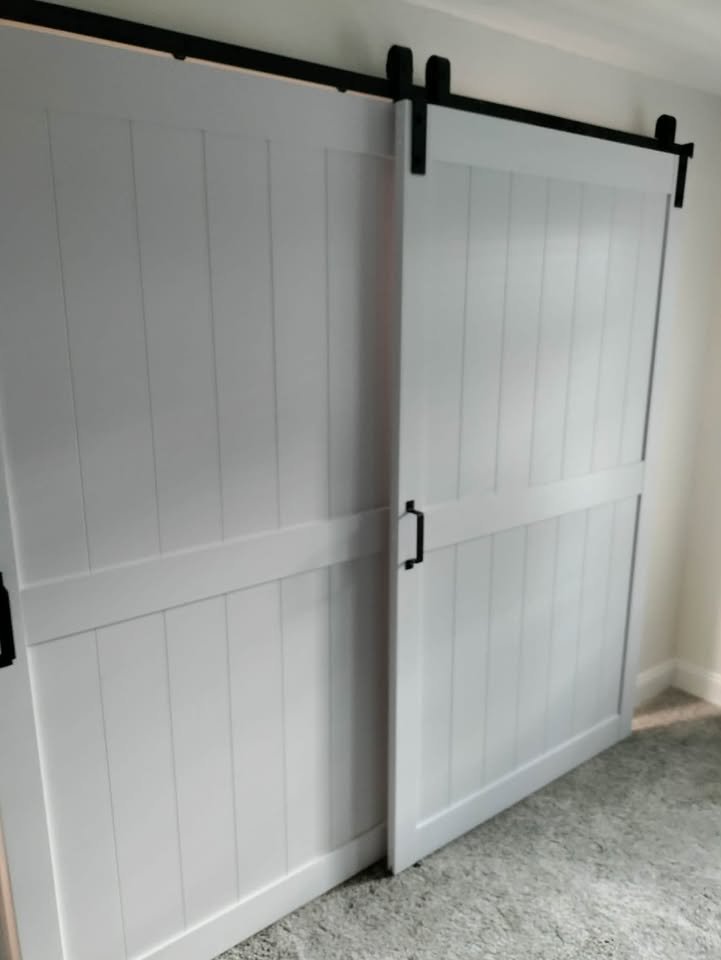
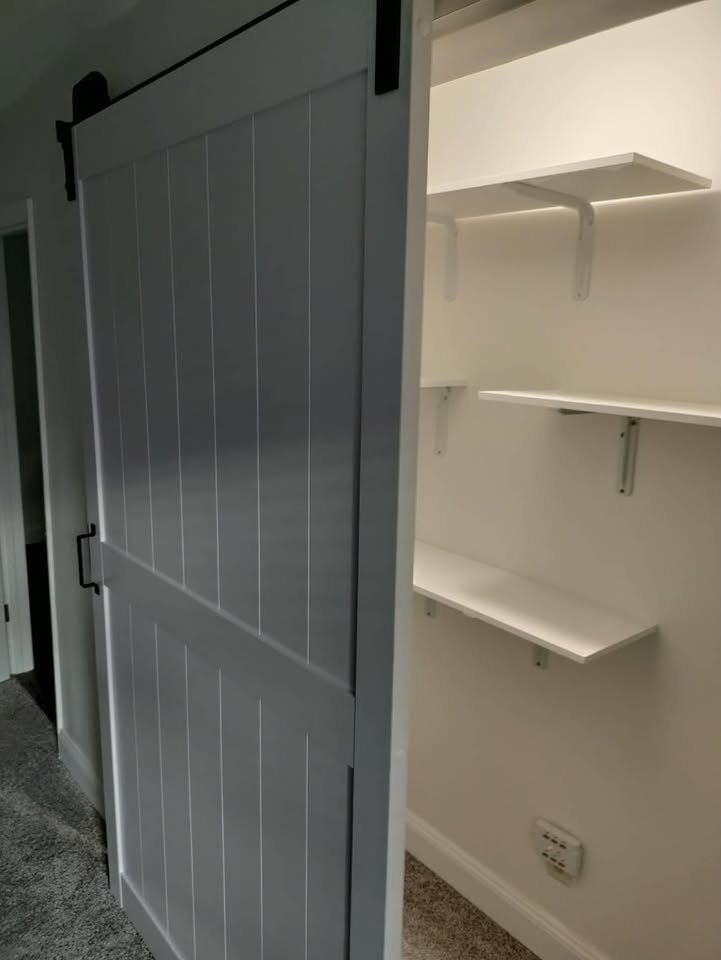
This one was a pretty good one. I don’t have any before pictures unfortunately but we built the whole closet, shelving, closet door, and installed a light and a light switch. Framed out the walls to fit the door, drywall, paint, shelving, baseboards, assembled and installed the door, installed and painted the header board, and hung the door. We ordered the door from Home Depot and had to put it together but it’s a pretty darn good door, we are happy with the product. We respect all of our clients and people in general very much, and we really respect the lady we did this project for. Very sweet and professional. I’ll just say this, she was a pilot, isn’t that cool? I think things like that are pretty cool.

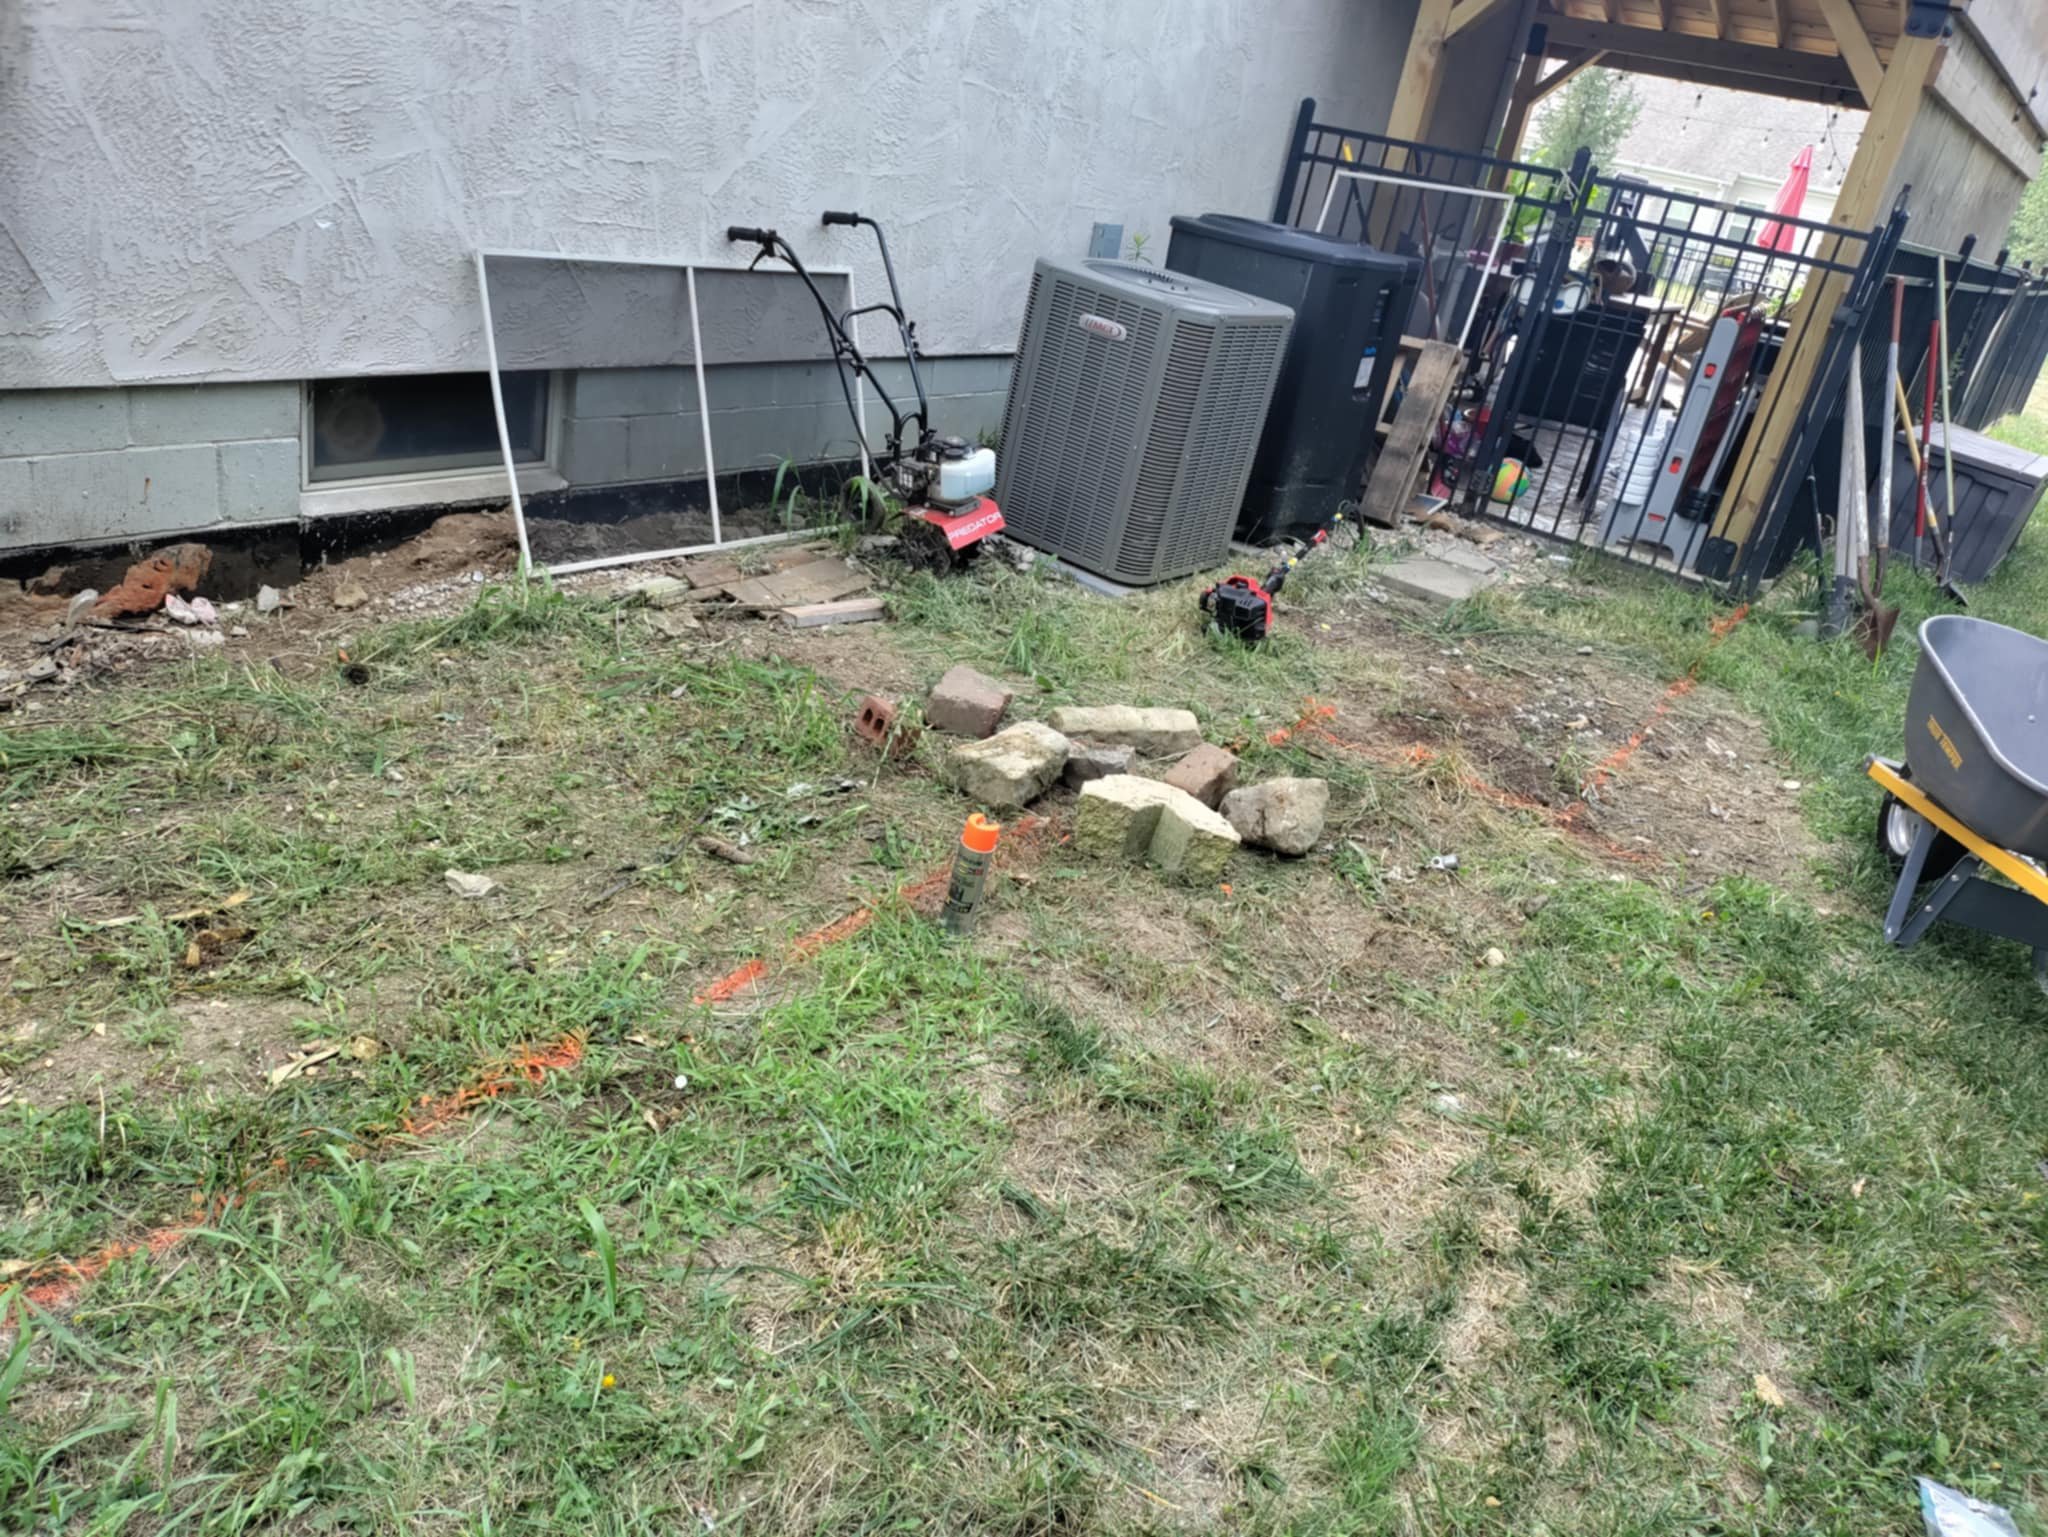
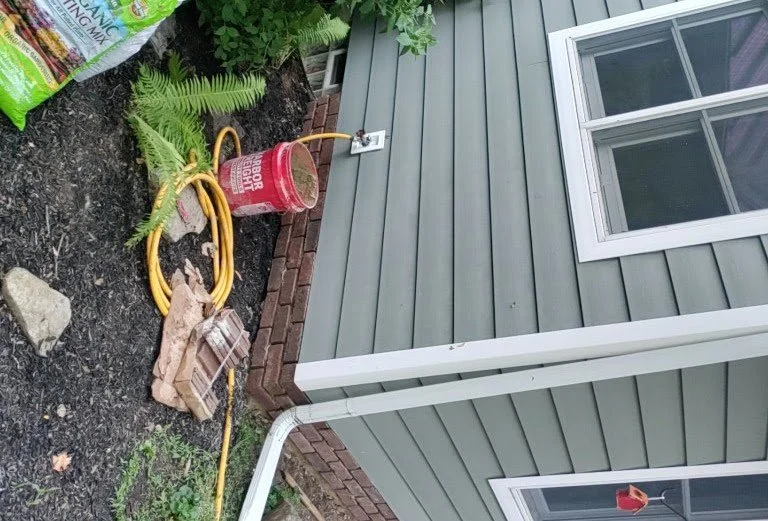
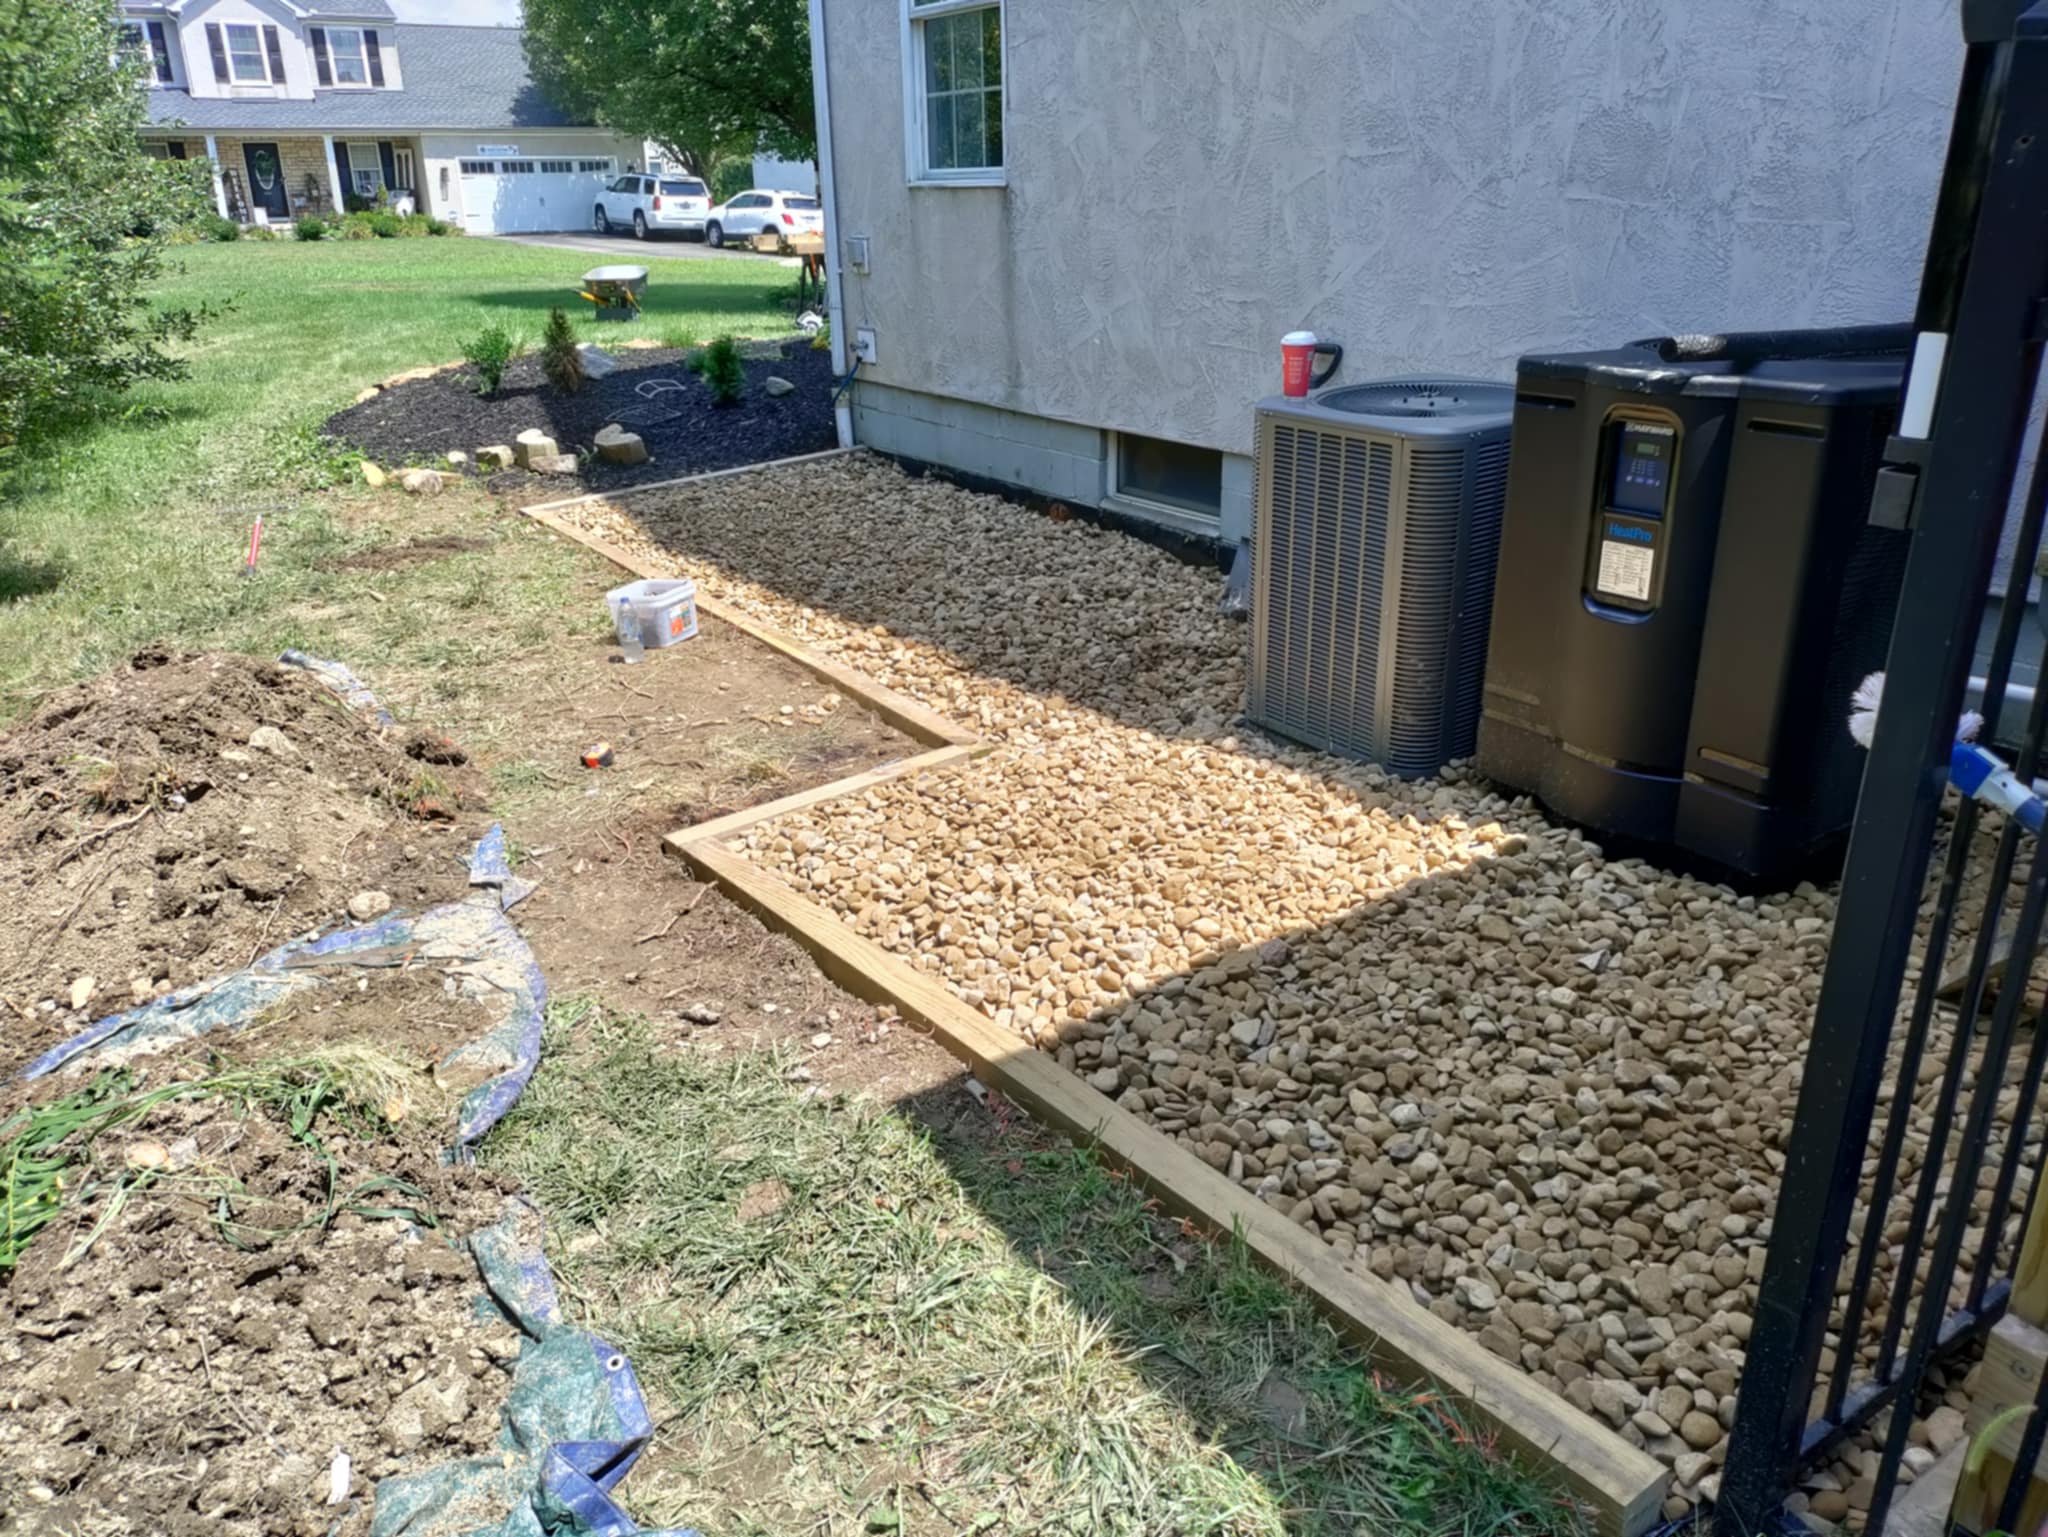
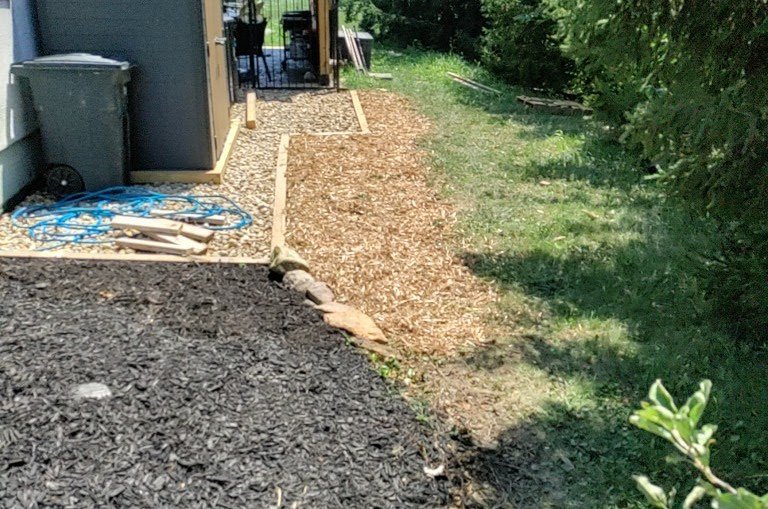
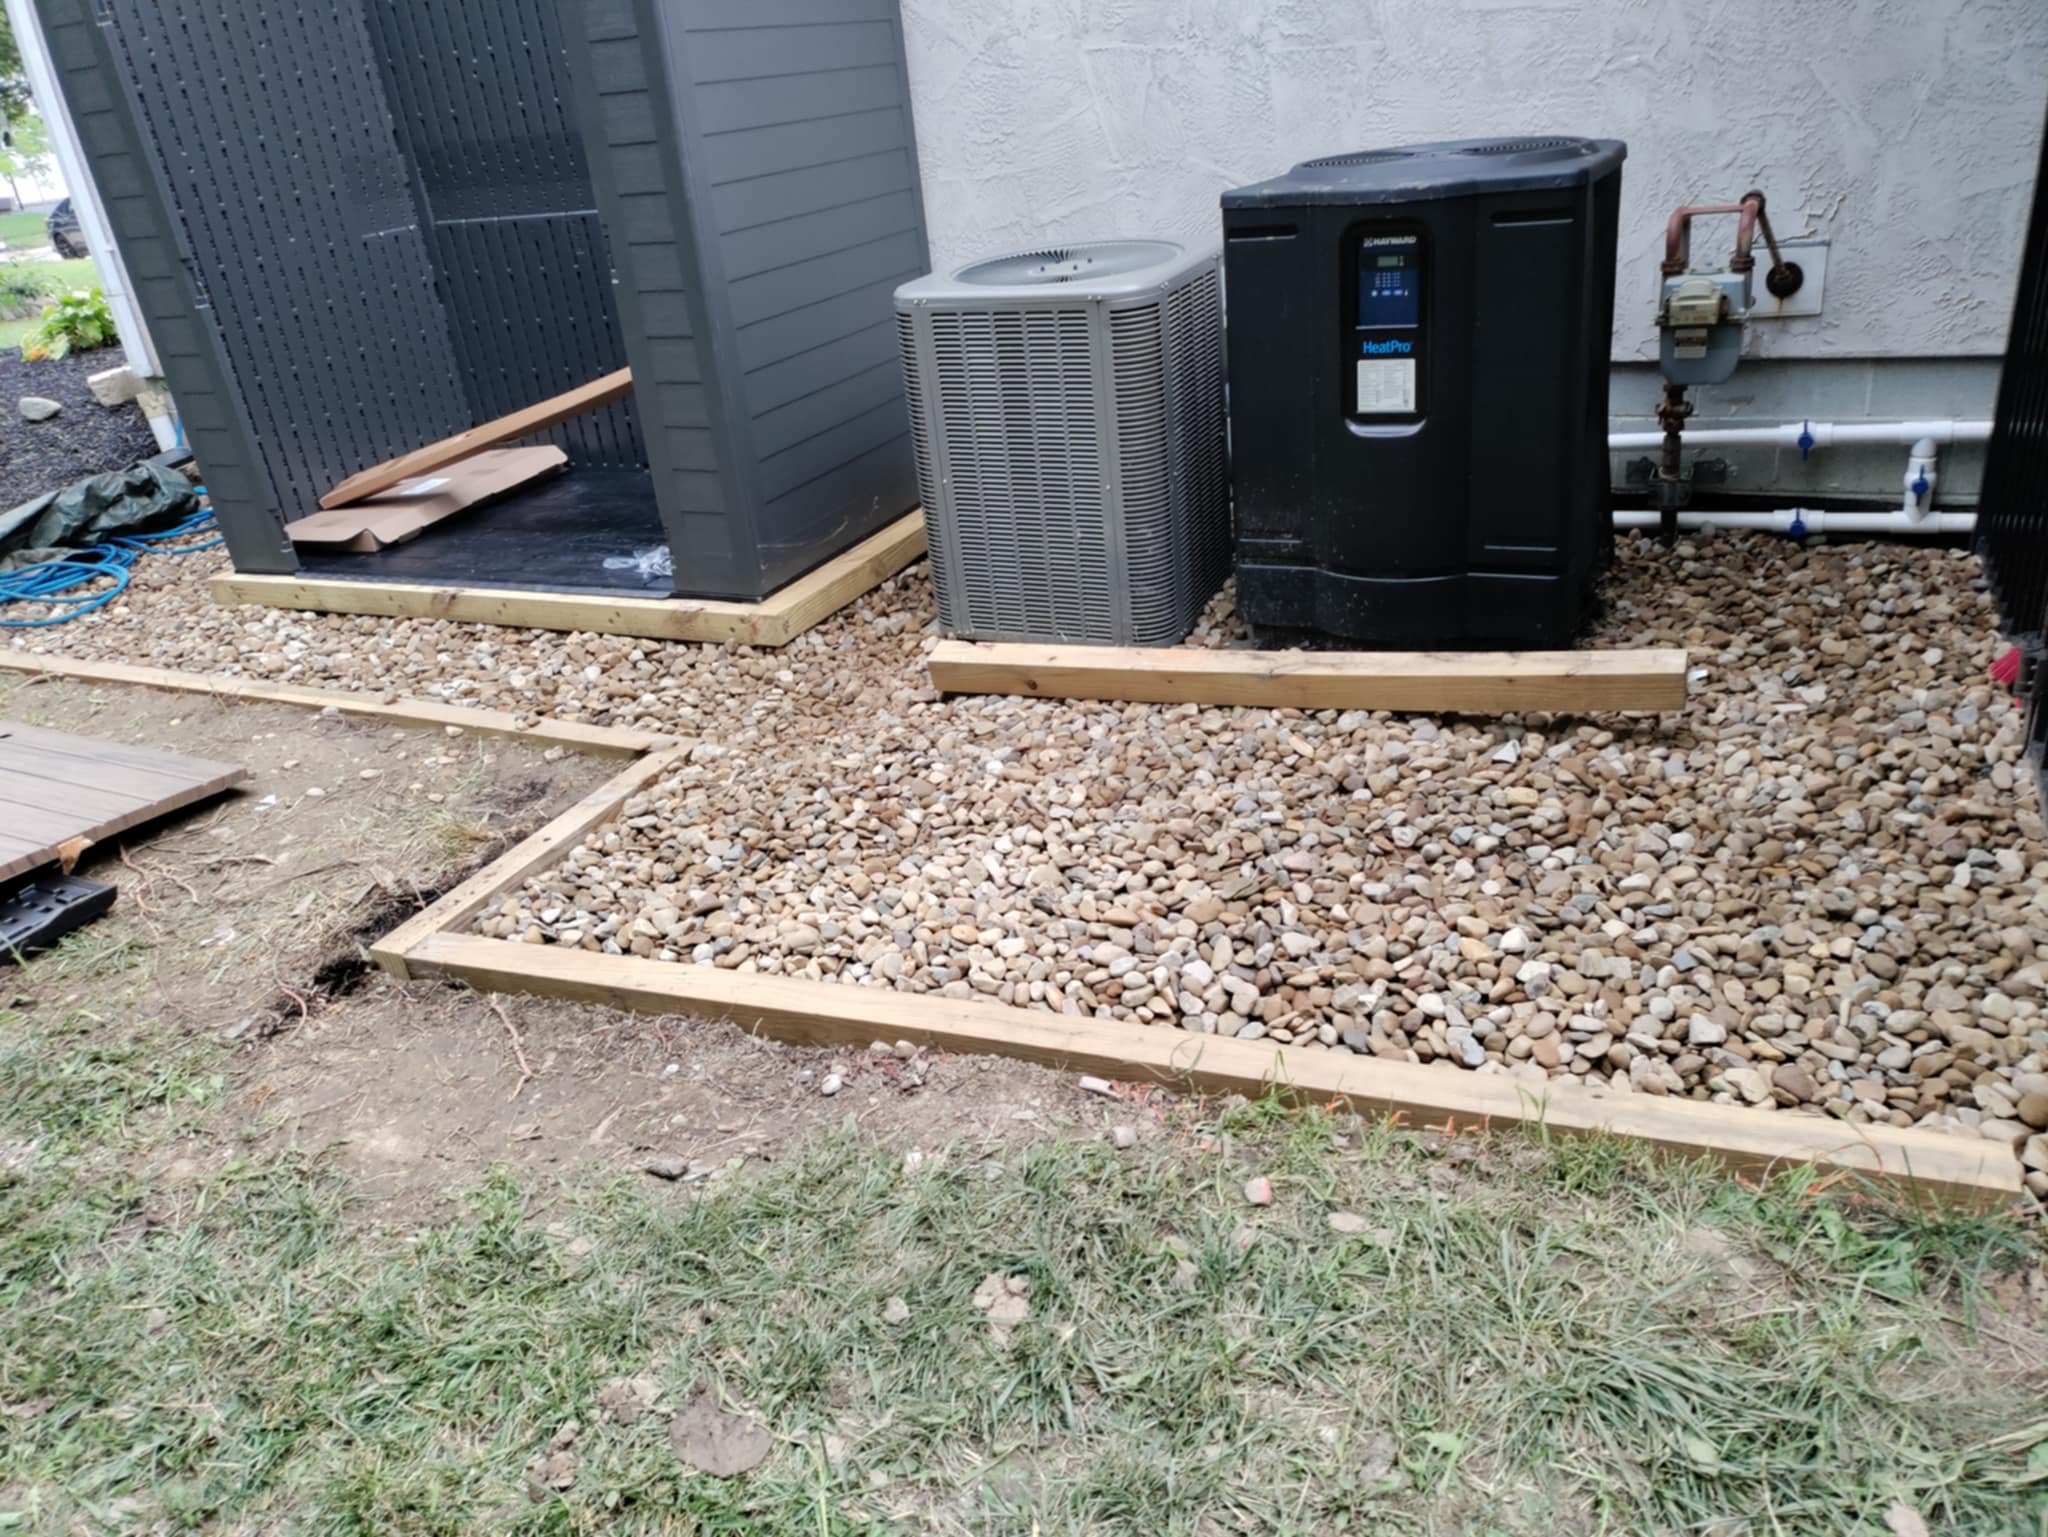
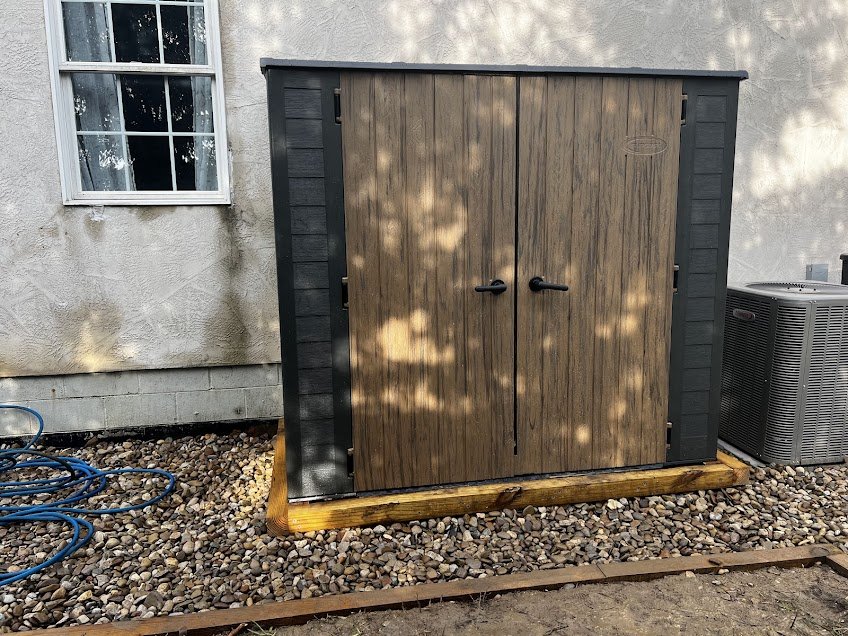
This one took a little more than a full day’s work. We tilled 6 inches of dirt, removed it, laid landscape fabric, put a 4x4 post on the outer edge (fabric and base rock underneath 4x4 post and more fabric for wood to dirt contact), put a few tons of rock in it’s place, built a wooden frame for the shed out of 4x4s (client insisted on building the shed themselves), laid straw and grass seed. There’s also something satisfying about working outside in the summertime. We weeded, tilled, planted, and mulched a huge garden bed for this client months prior to this project, that was fun too. I’ll see if I can find the pictures. Stay tuned!
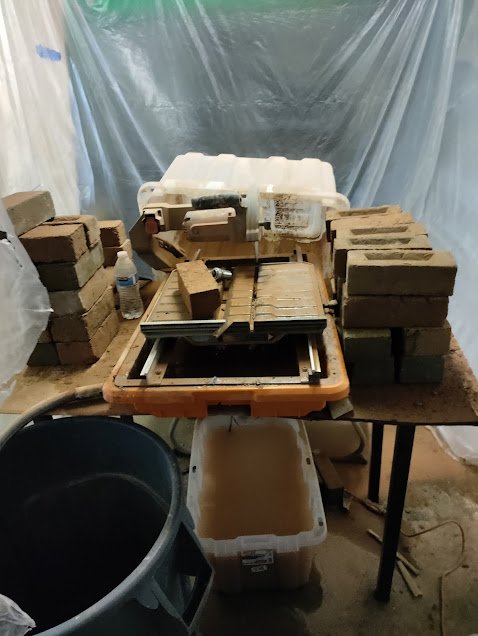
Back in February 2025, I met a guy who hired me to cut several hundreds of flat veneer bricks out of whole bricks for a chimney. There was something like 5 or 600 flat pieces needed, and almost 200 corners needed. It was cold, so I set up a wet saw station inside of the garage. This was the idea,
Plastic tent, plastic tote as a over spray water catcher. Water pump sits in a 30 gallon tote. Water connector hose on the end of the drain plug that feeds into a 50 gallon trash can where I'm also throwing my scrap. Wet saw can run for 3 to 4 hours at a time between needing to empty trash can.
So I buckled down and started making them all. I don’t have a picture of all of them together because I delivered them every time I’d get a few hundred, but there was a lot.


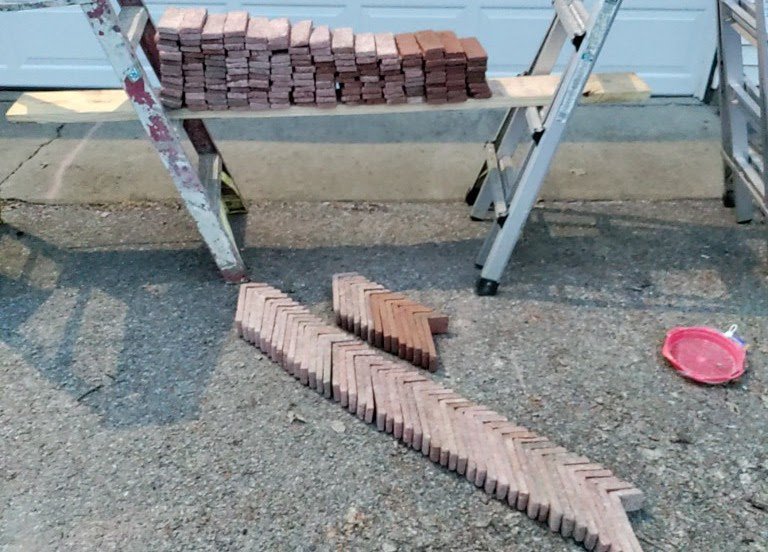
It was quite an experience and a lot of work, and to get it done in just a few days, we needed to spend 10 or 12 hours a day standing in front of the wet saw. Needless to say we got it done, it was worth it, and it was great.
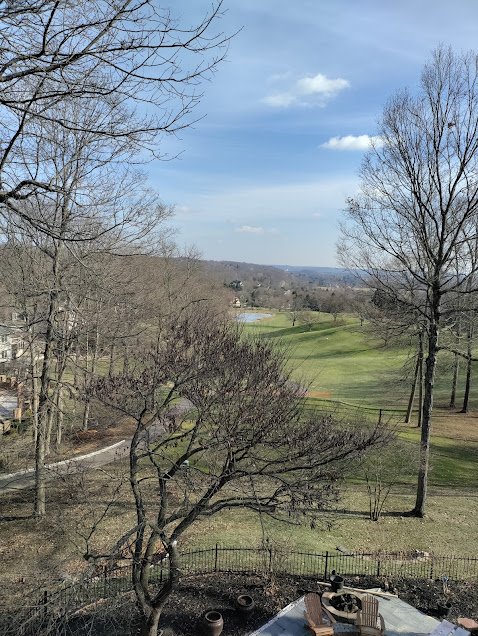
He also hired me for some labor and while I won’t share his work because that belongs to him, let me say that we were super high up on the roof and the view was amazing.
If you’ve made it this far, then I’m obliged to let you know that you can schedule a free estimate and I encourage you to reach out anytime, Thanks.
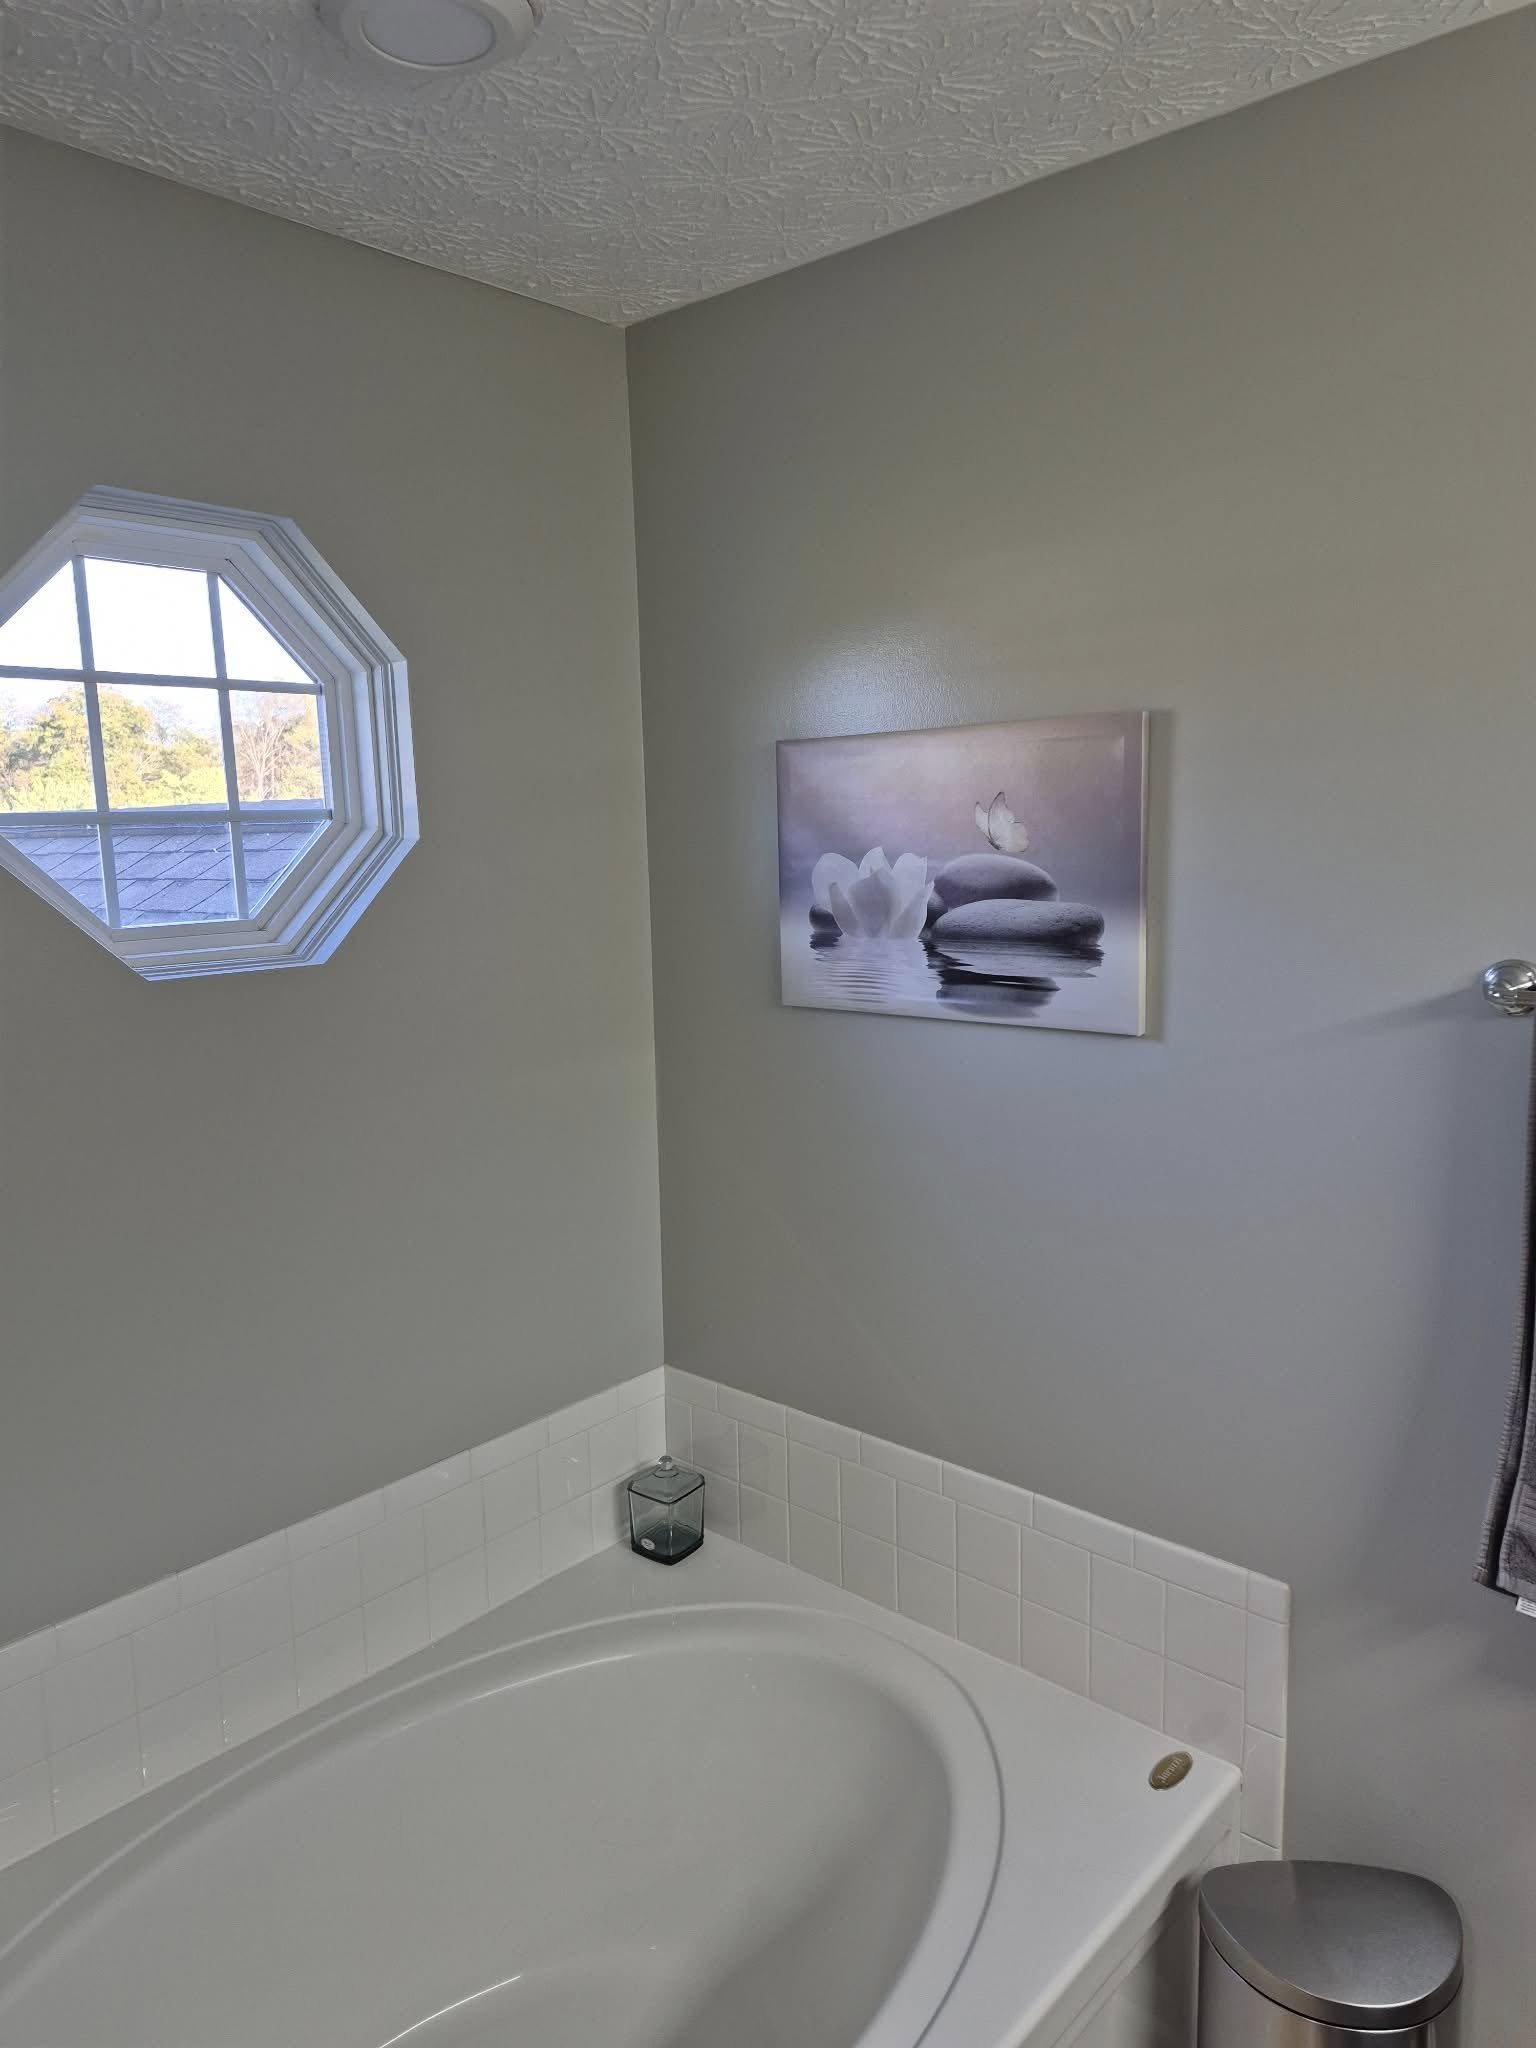

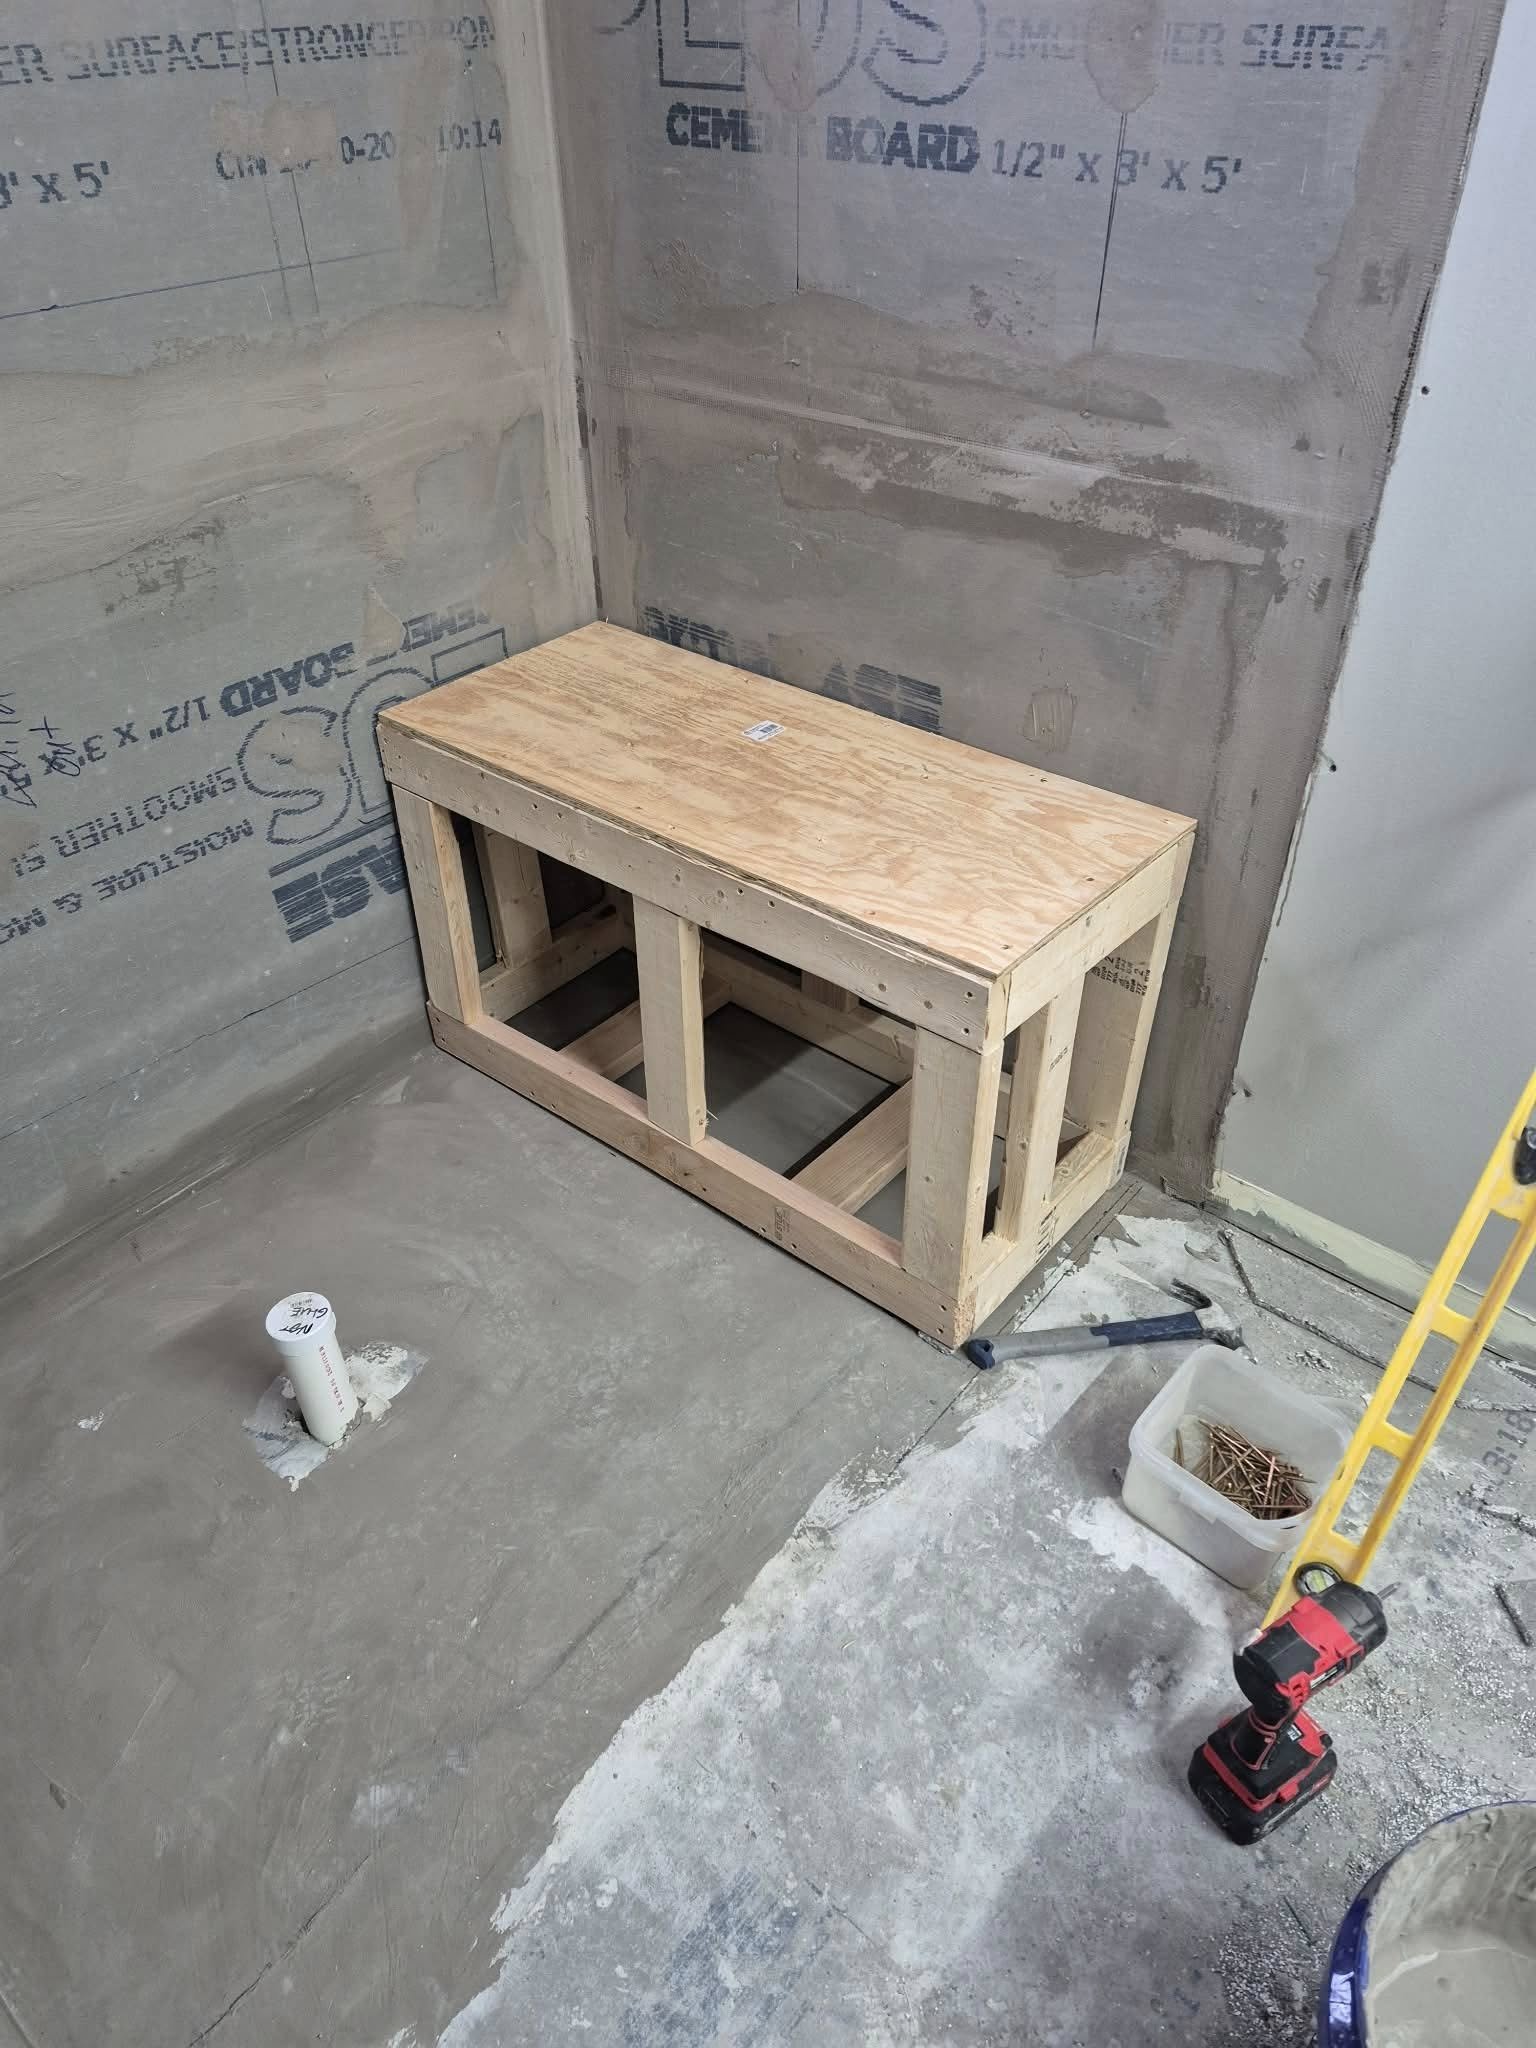
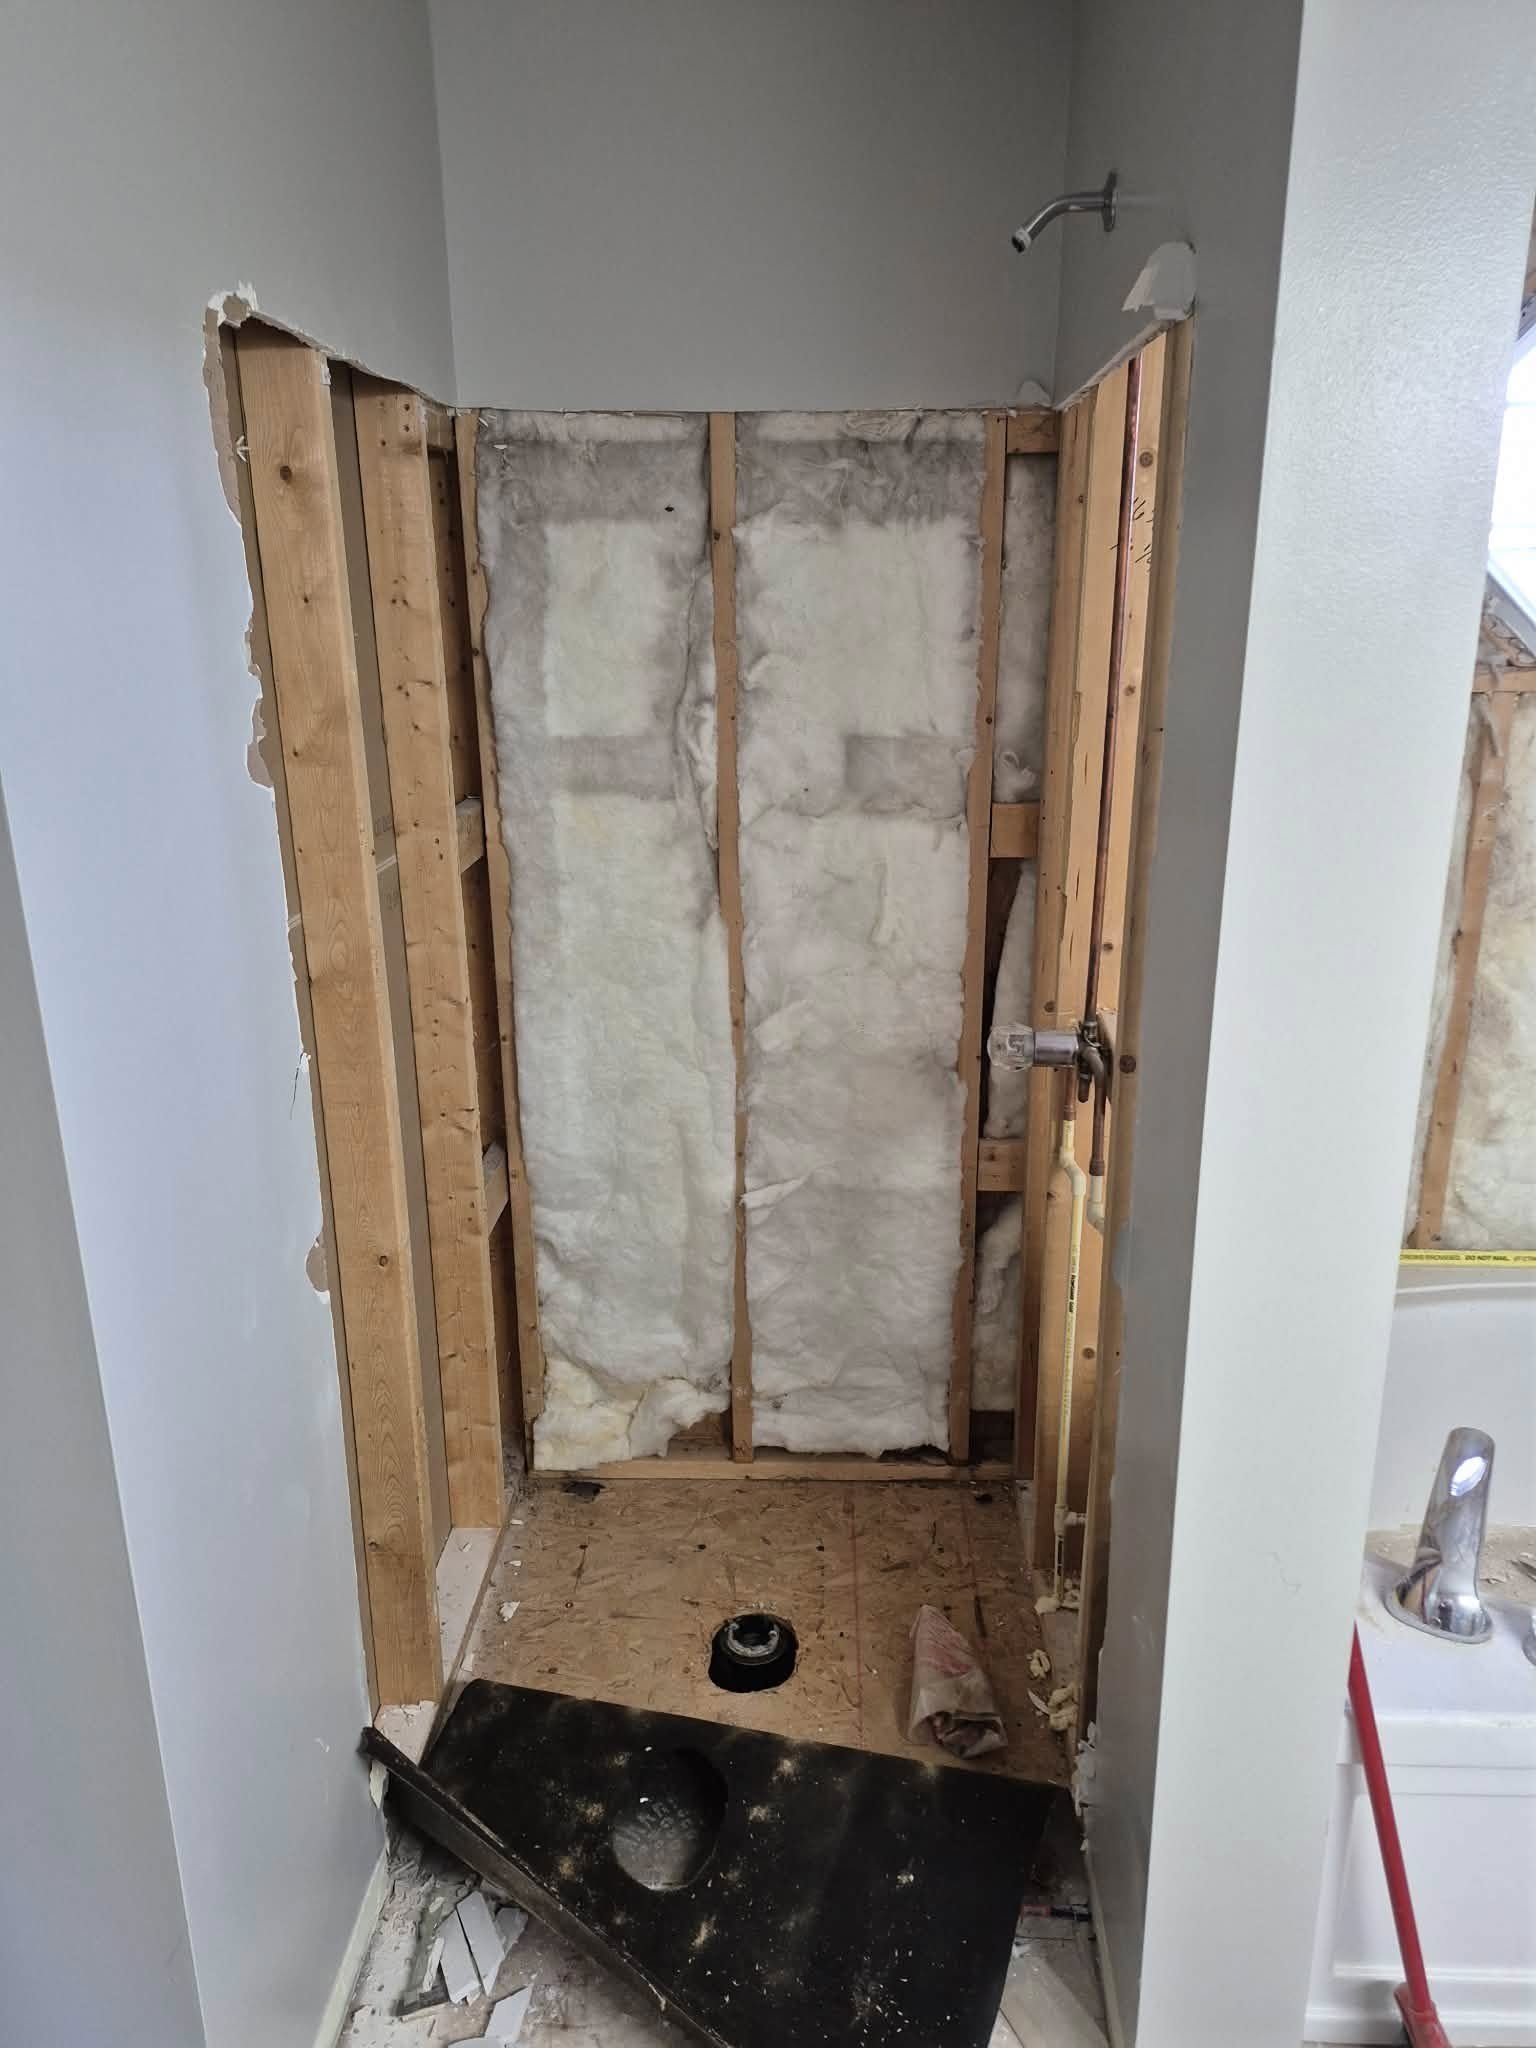
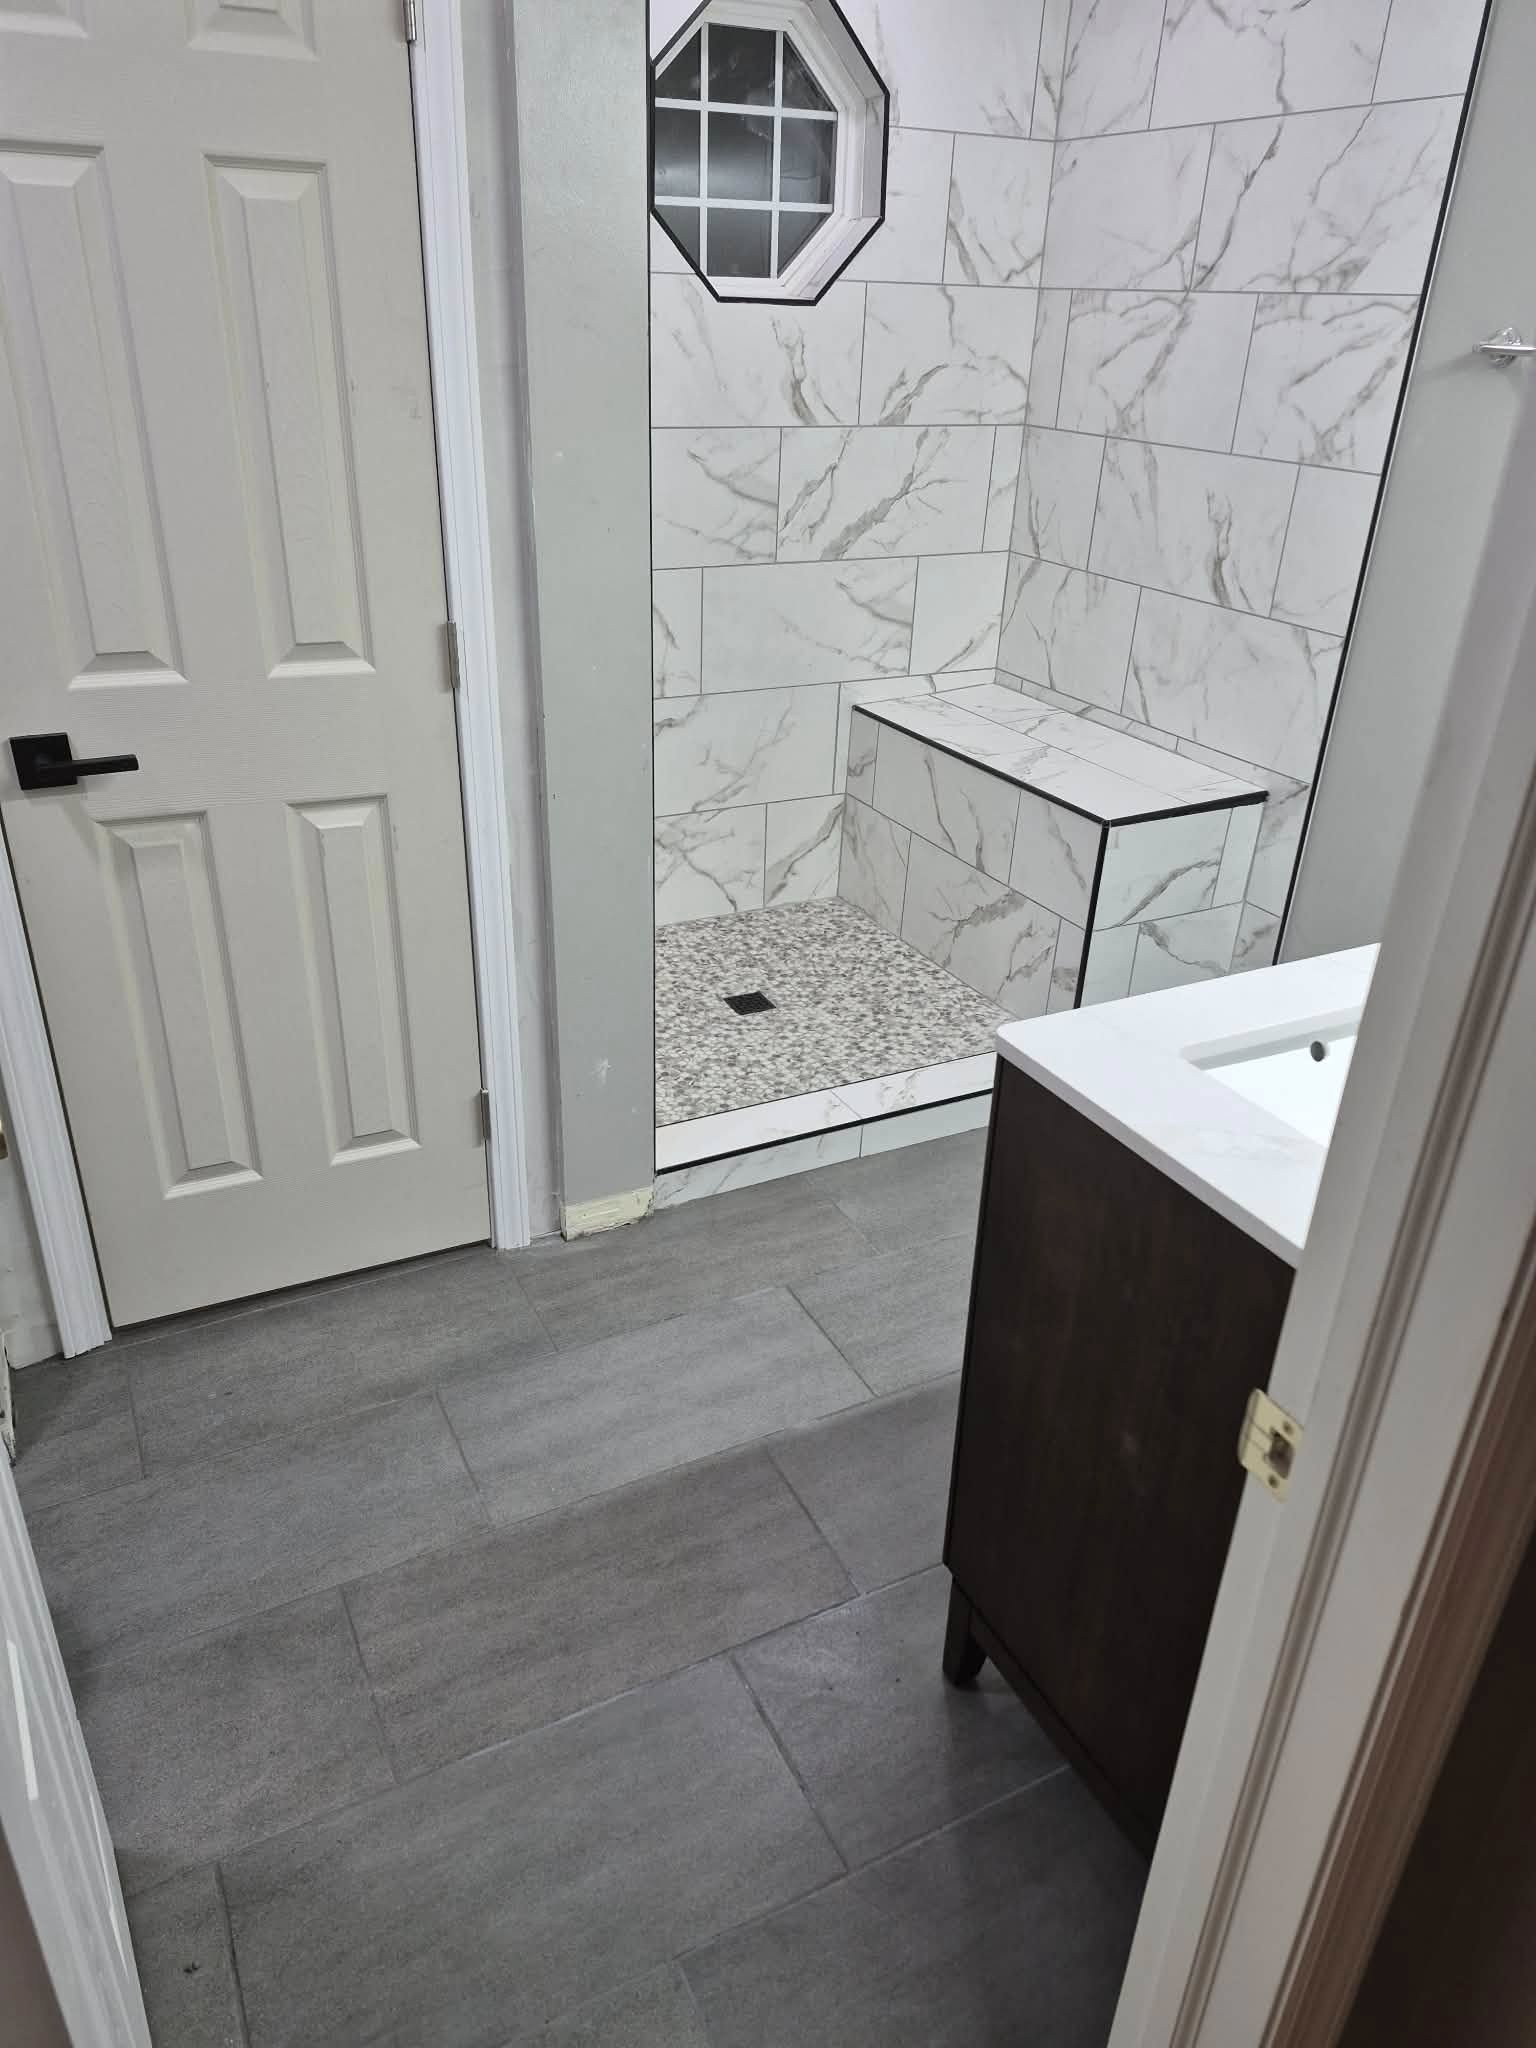
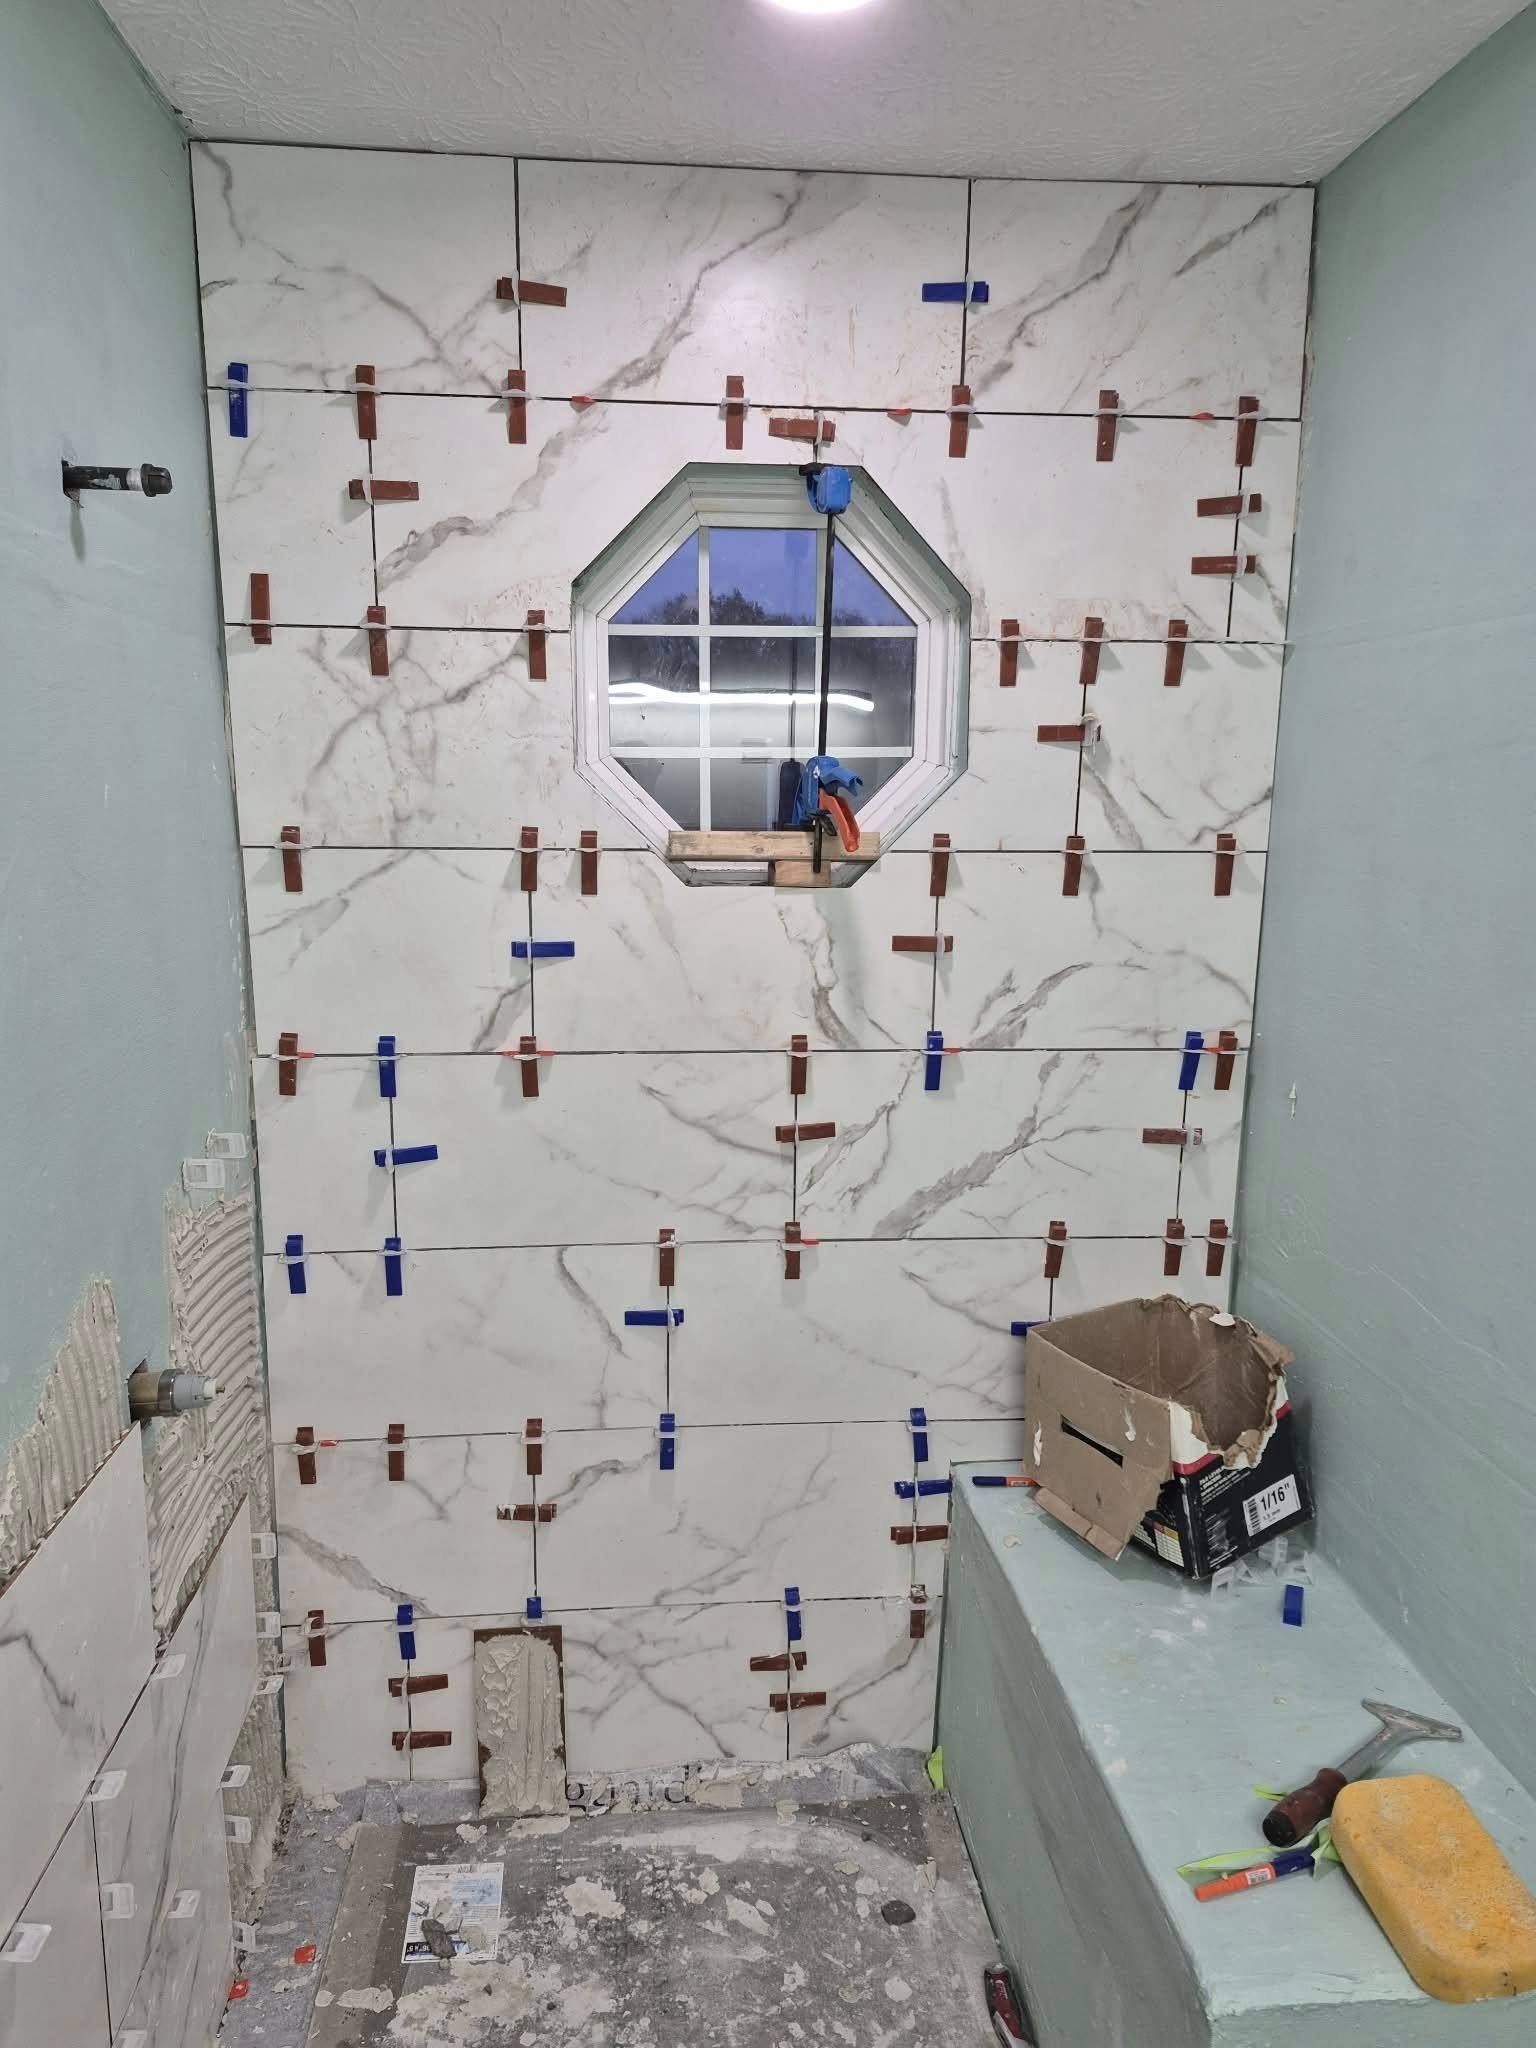
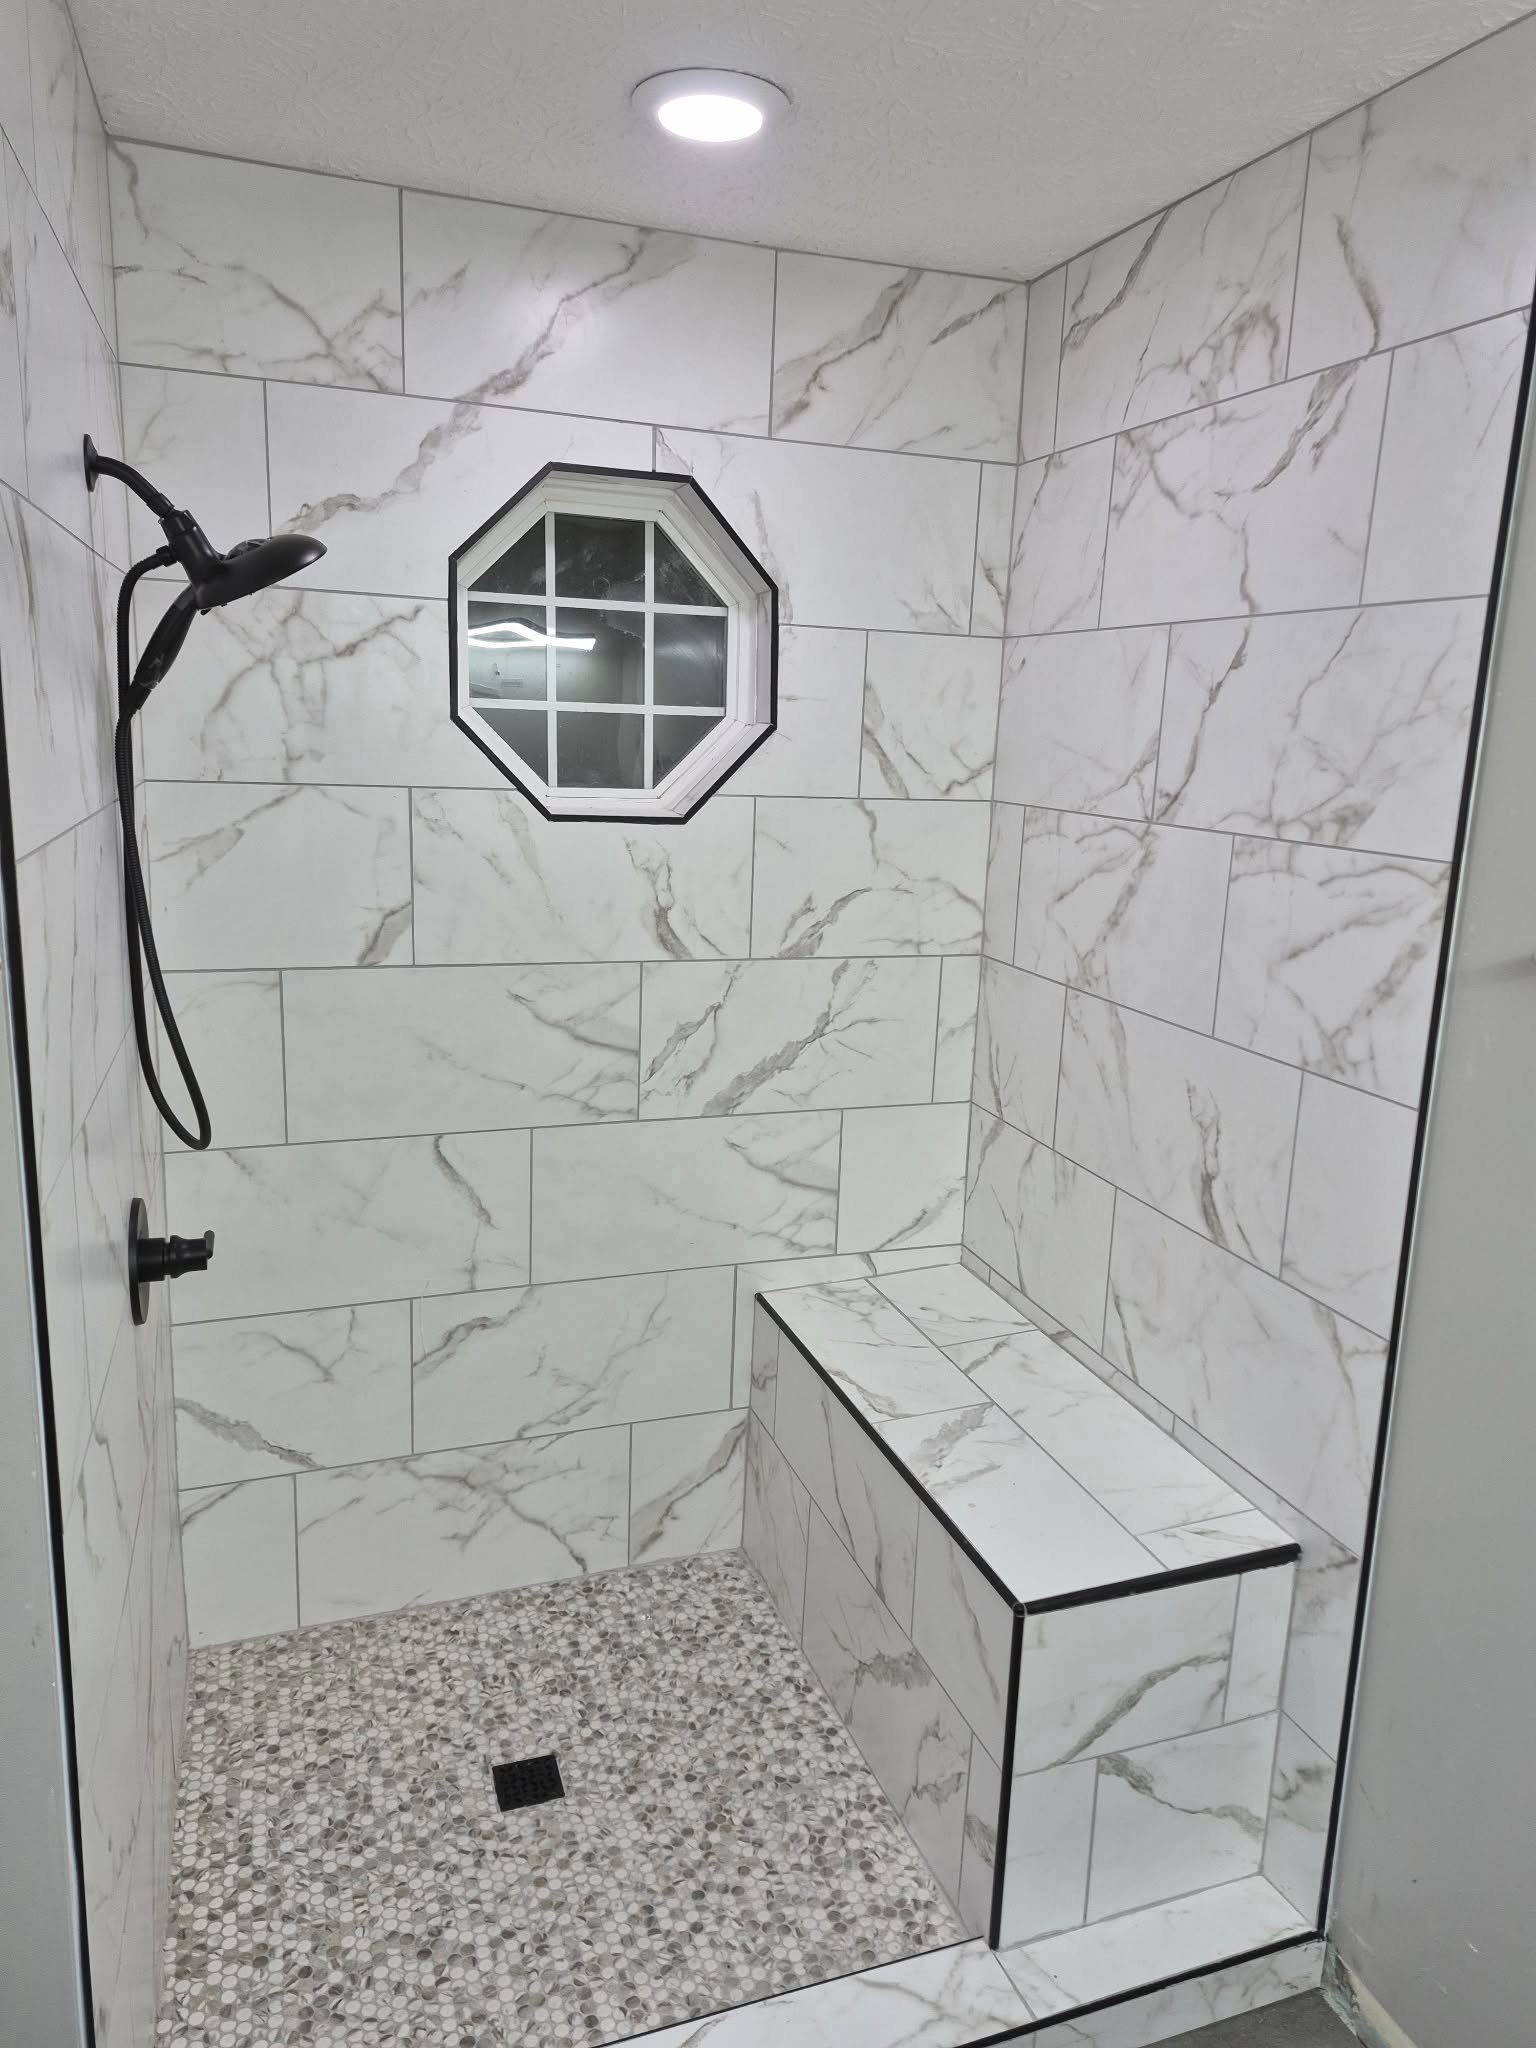
This one was a fun one, building bathroom showers usually is. My brother helped on this one, Thanks John. The door was custom made and installed by a glass company afterwards (shout out to Glass Guru) and I have yet to get the pictures, but this is what we made. Where there once was a tub, there’s a shower with a bench and a curb, where there once was a shower, there’s now a closet with a door. We also installed the flooring. Fun fact, I’ve been doing tile specifically since I was 15 years old. I’ve been a part of installing the flooring in probably a few hundred bath and body works stores around the country, working for an older brother of mine. We even built the Pink! Store in Easton Mall. Gosh that was a lot of work and that was a long time ago. Good memories. We love building things. Give us a call
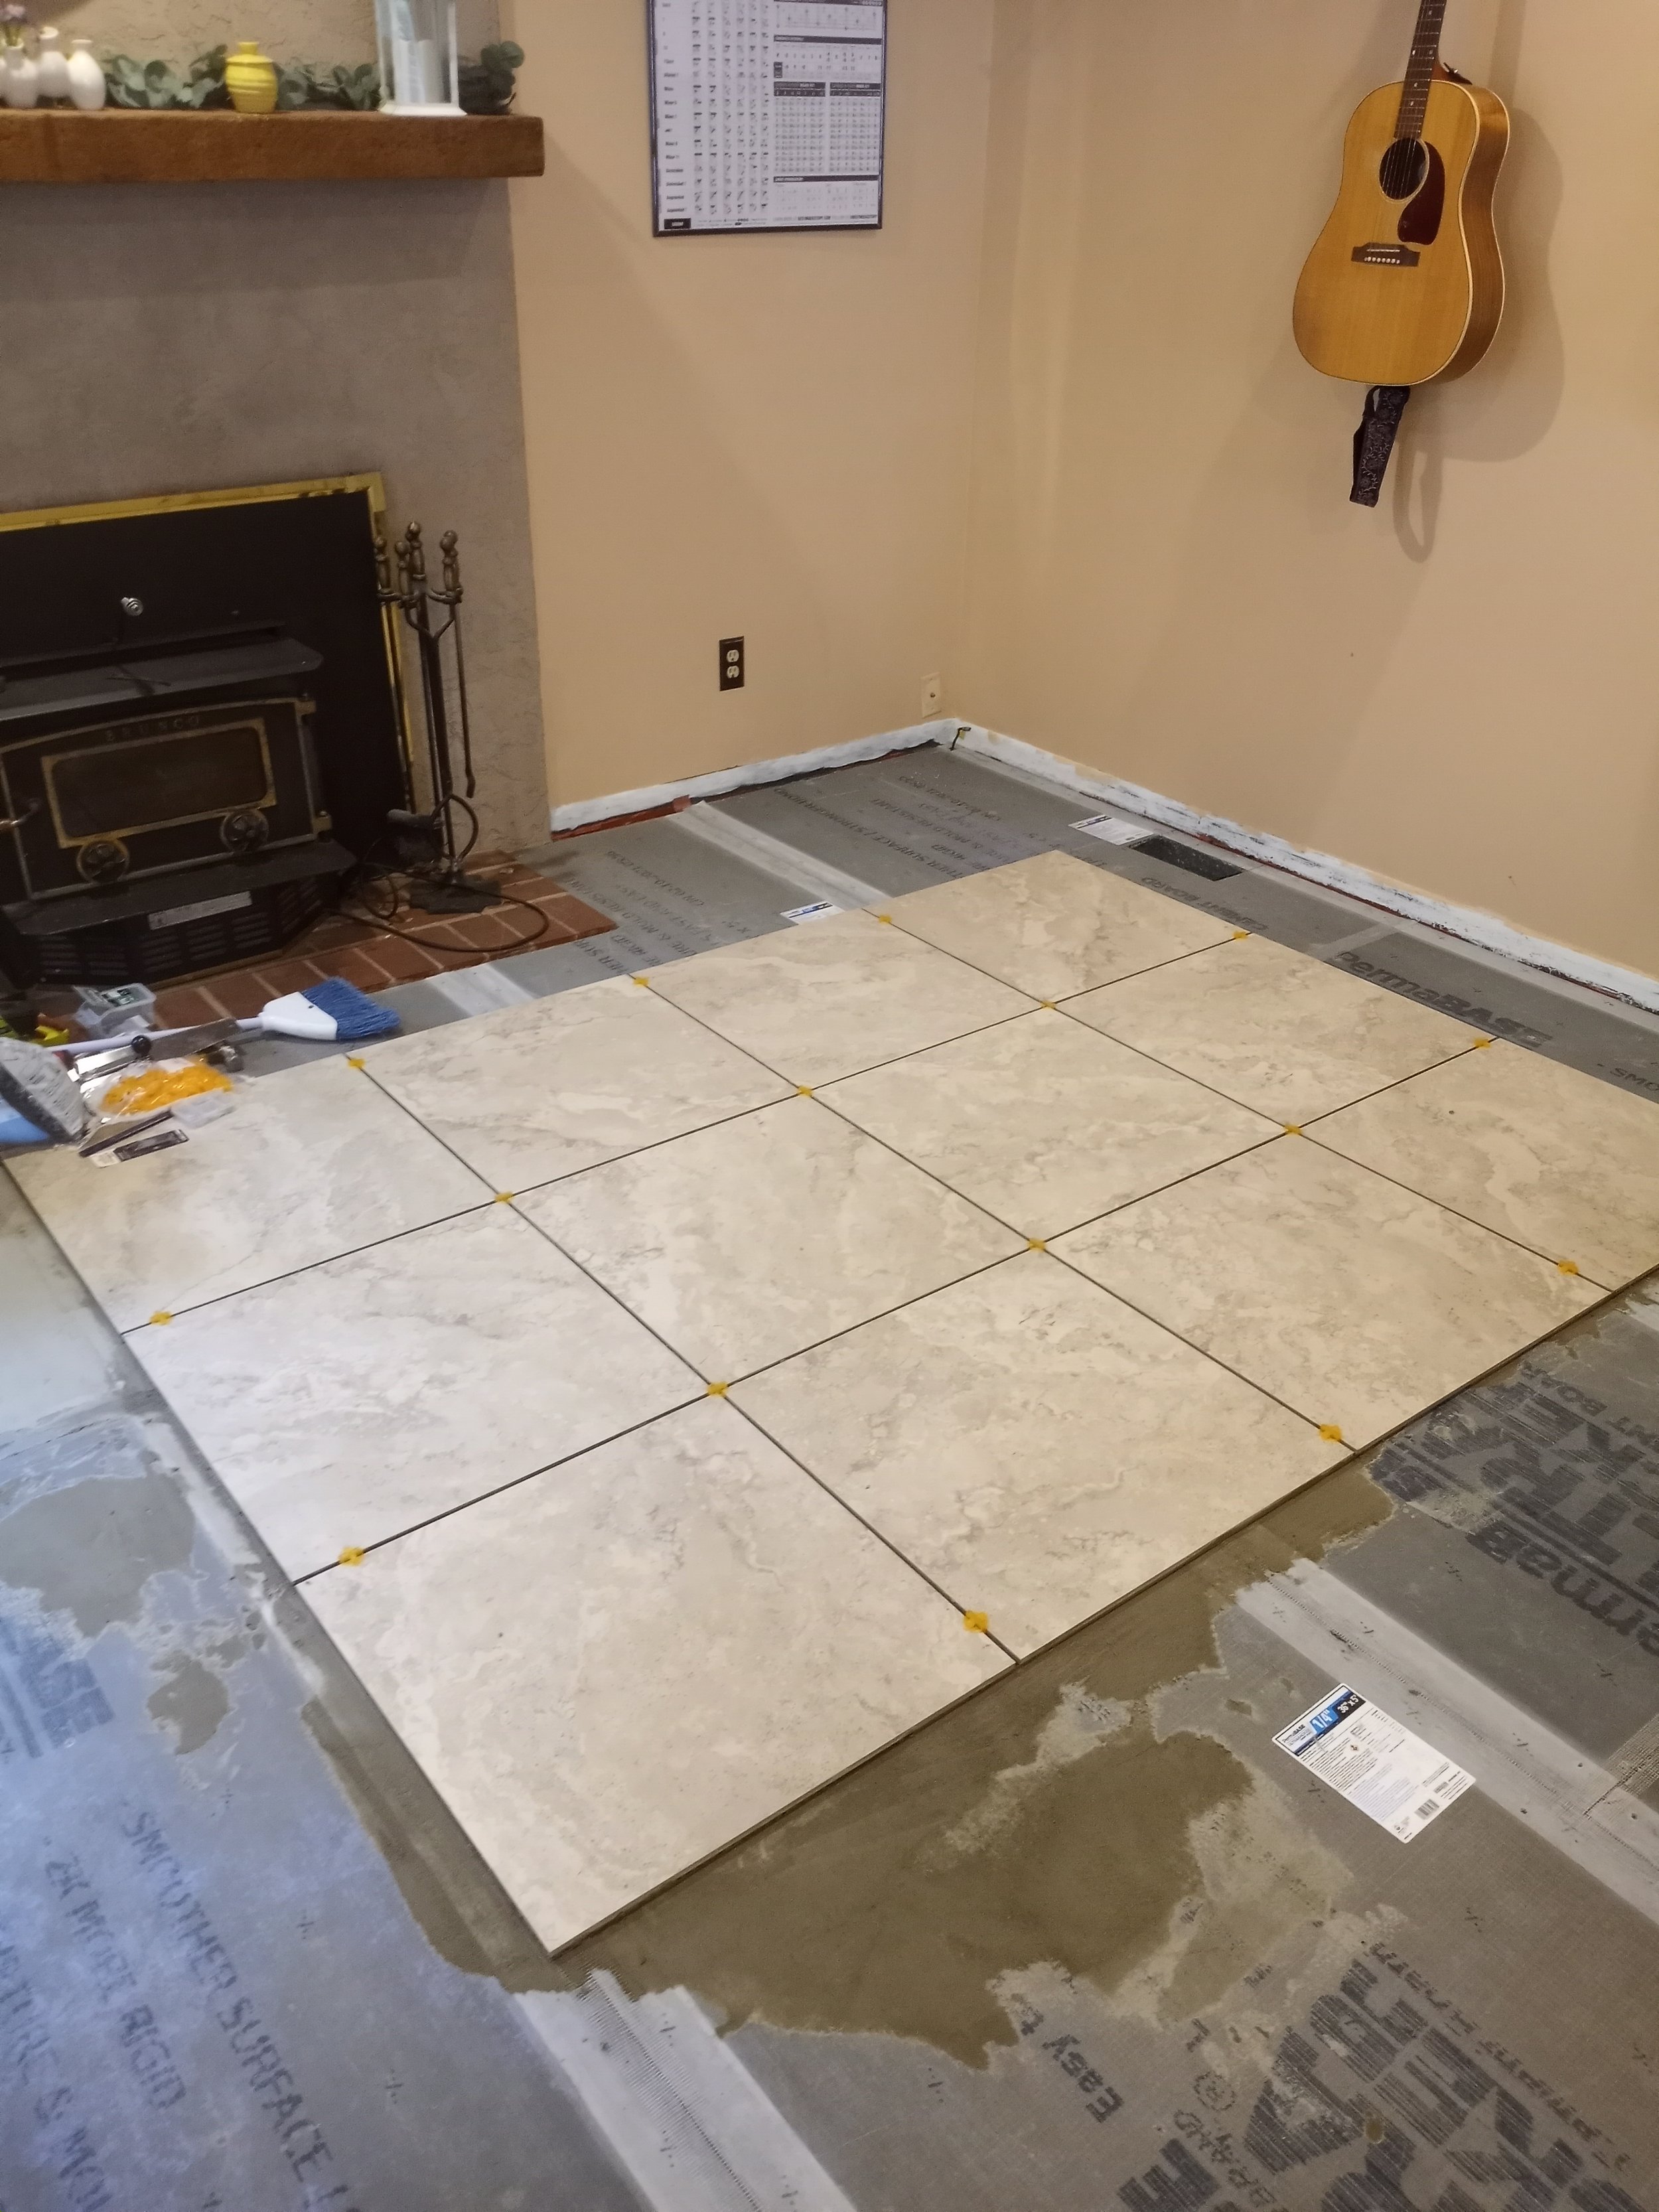
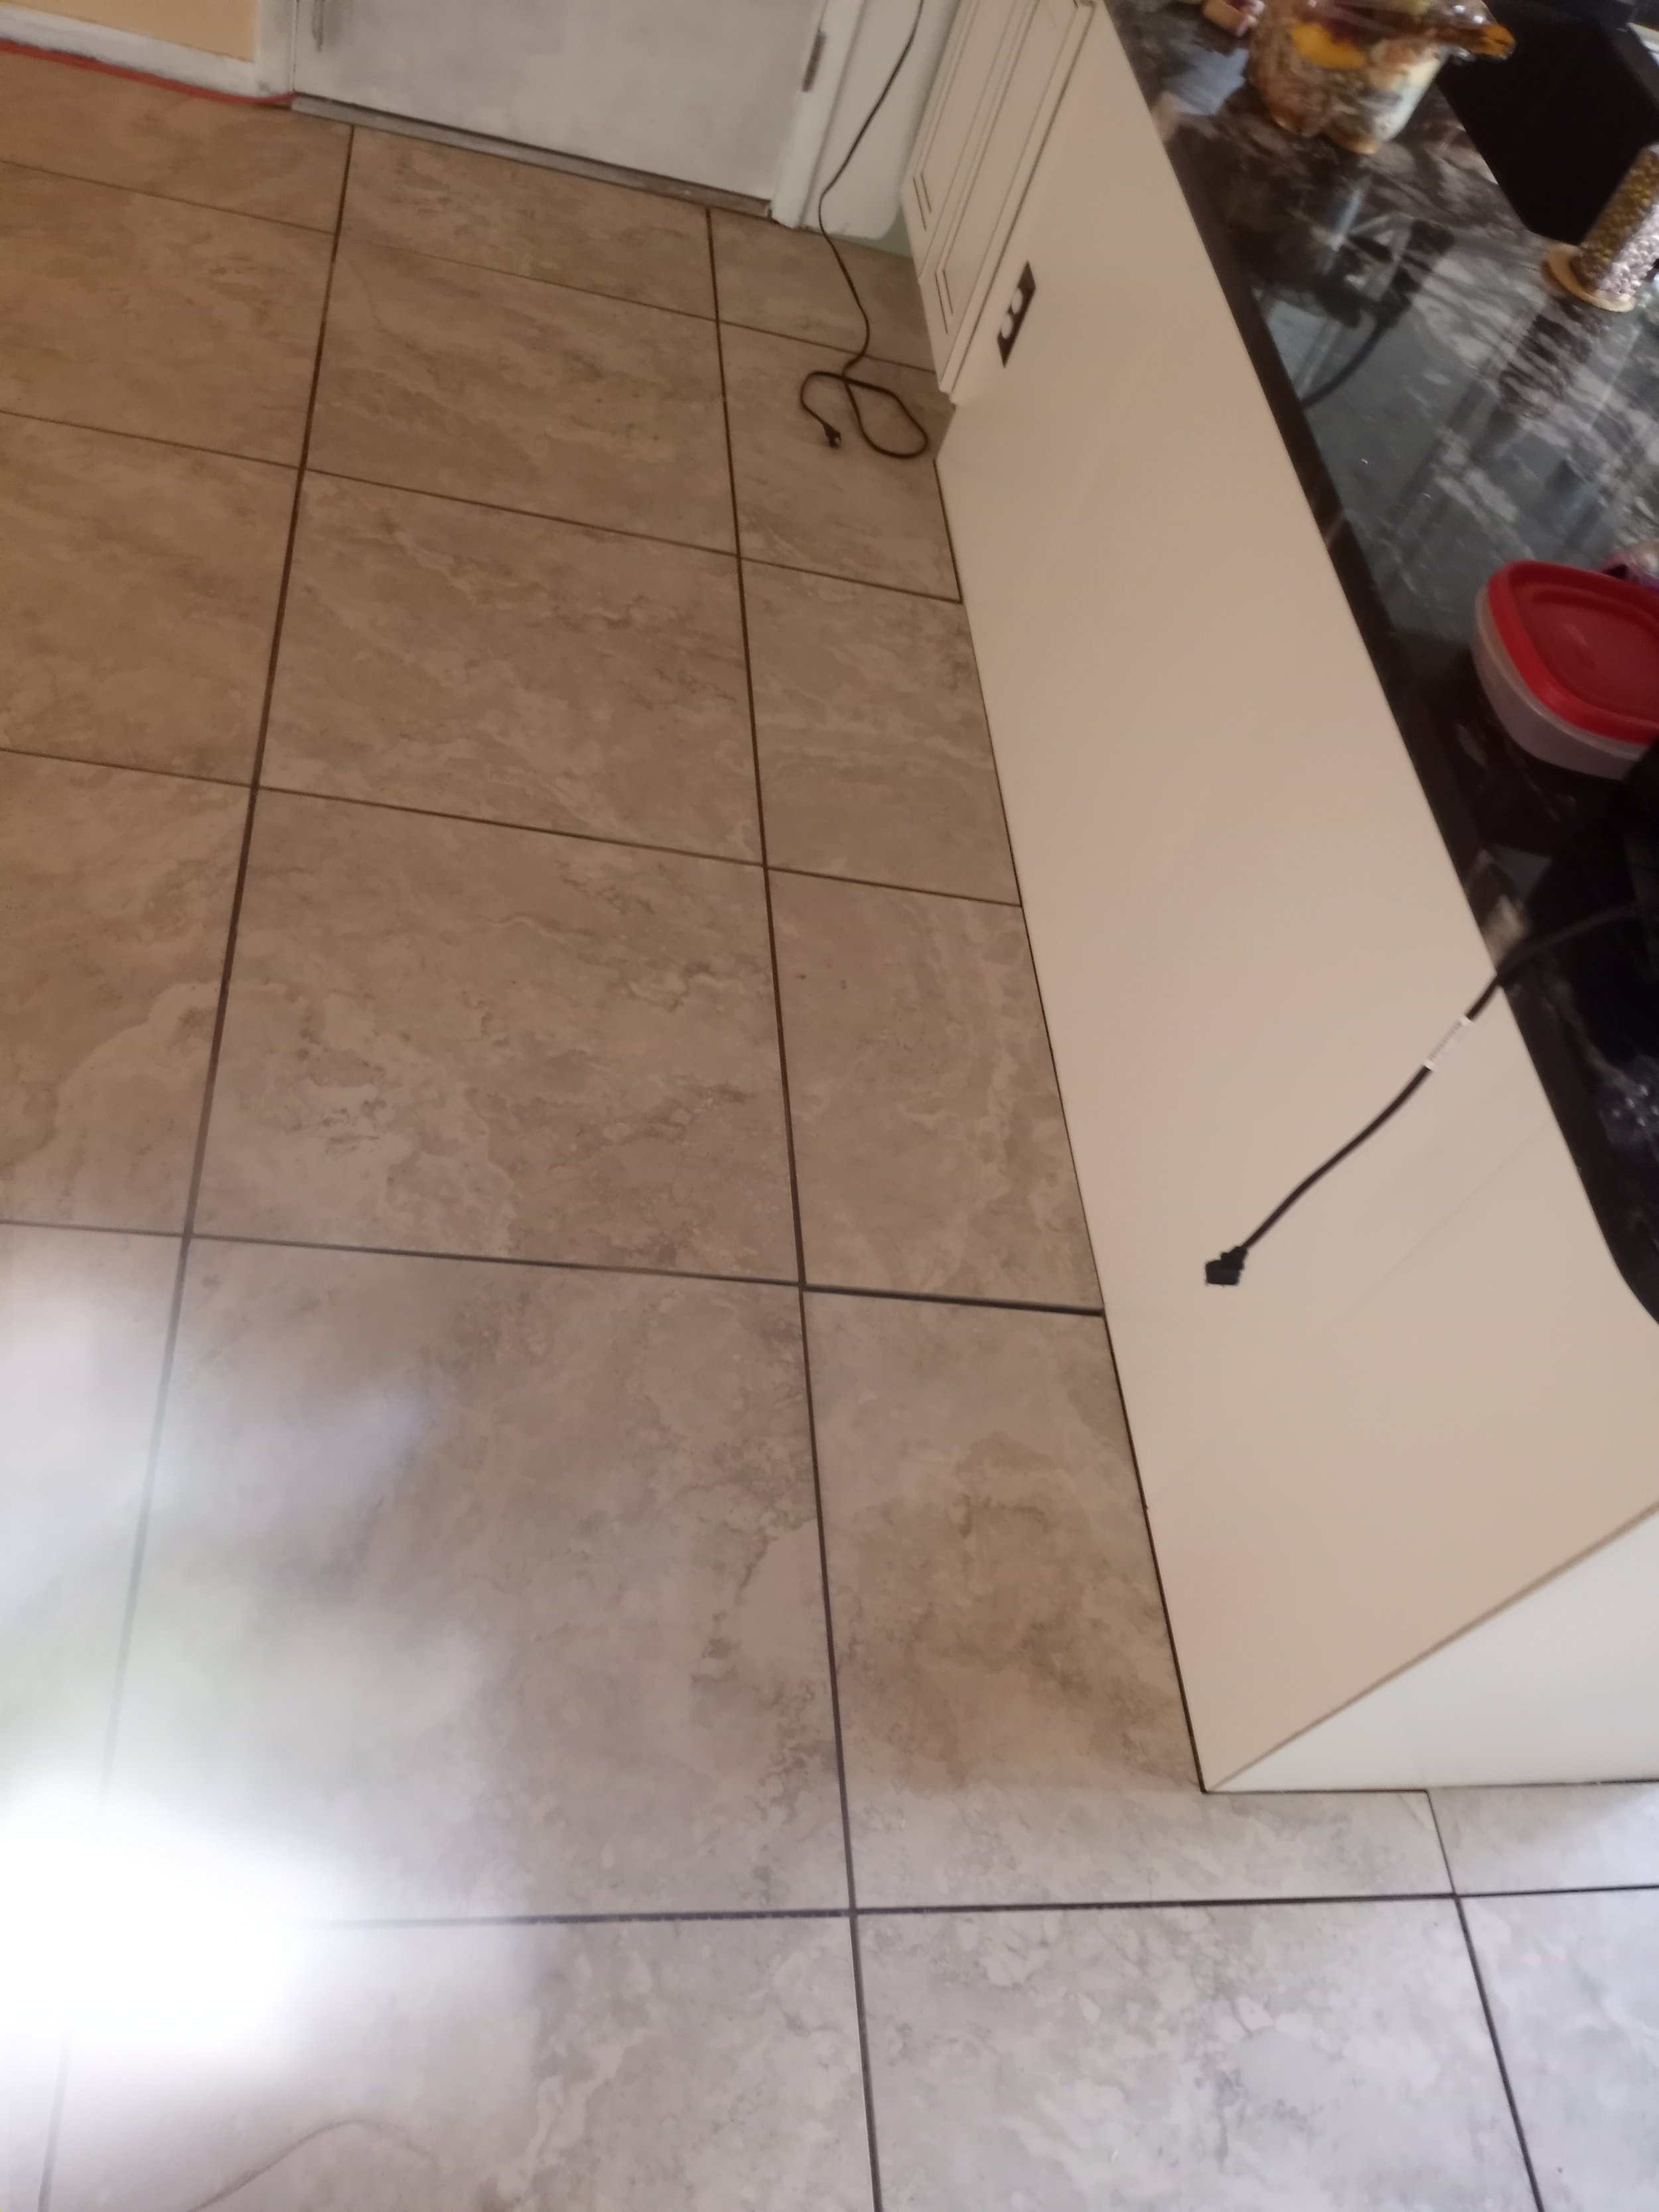
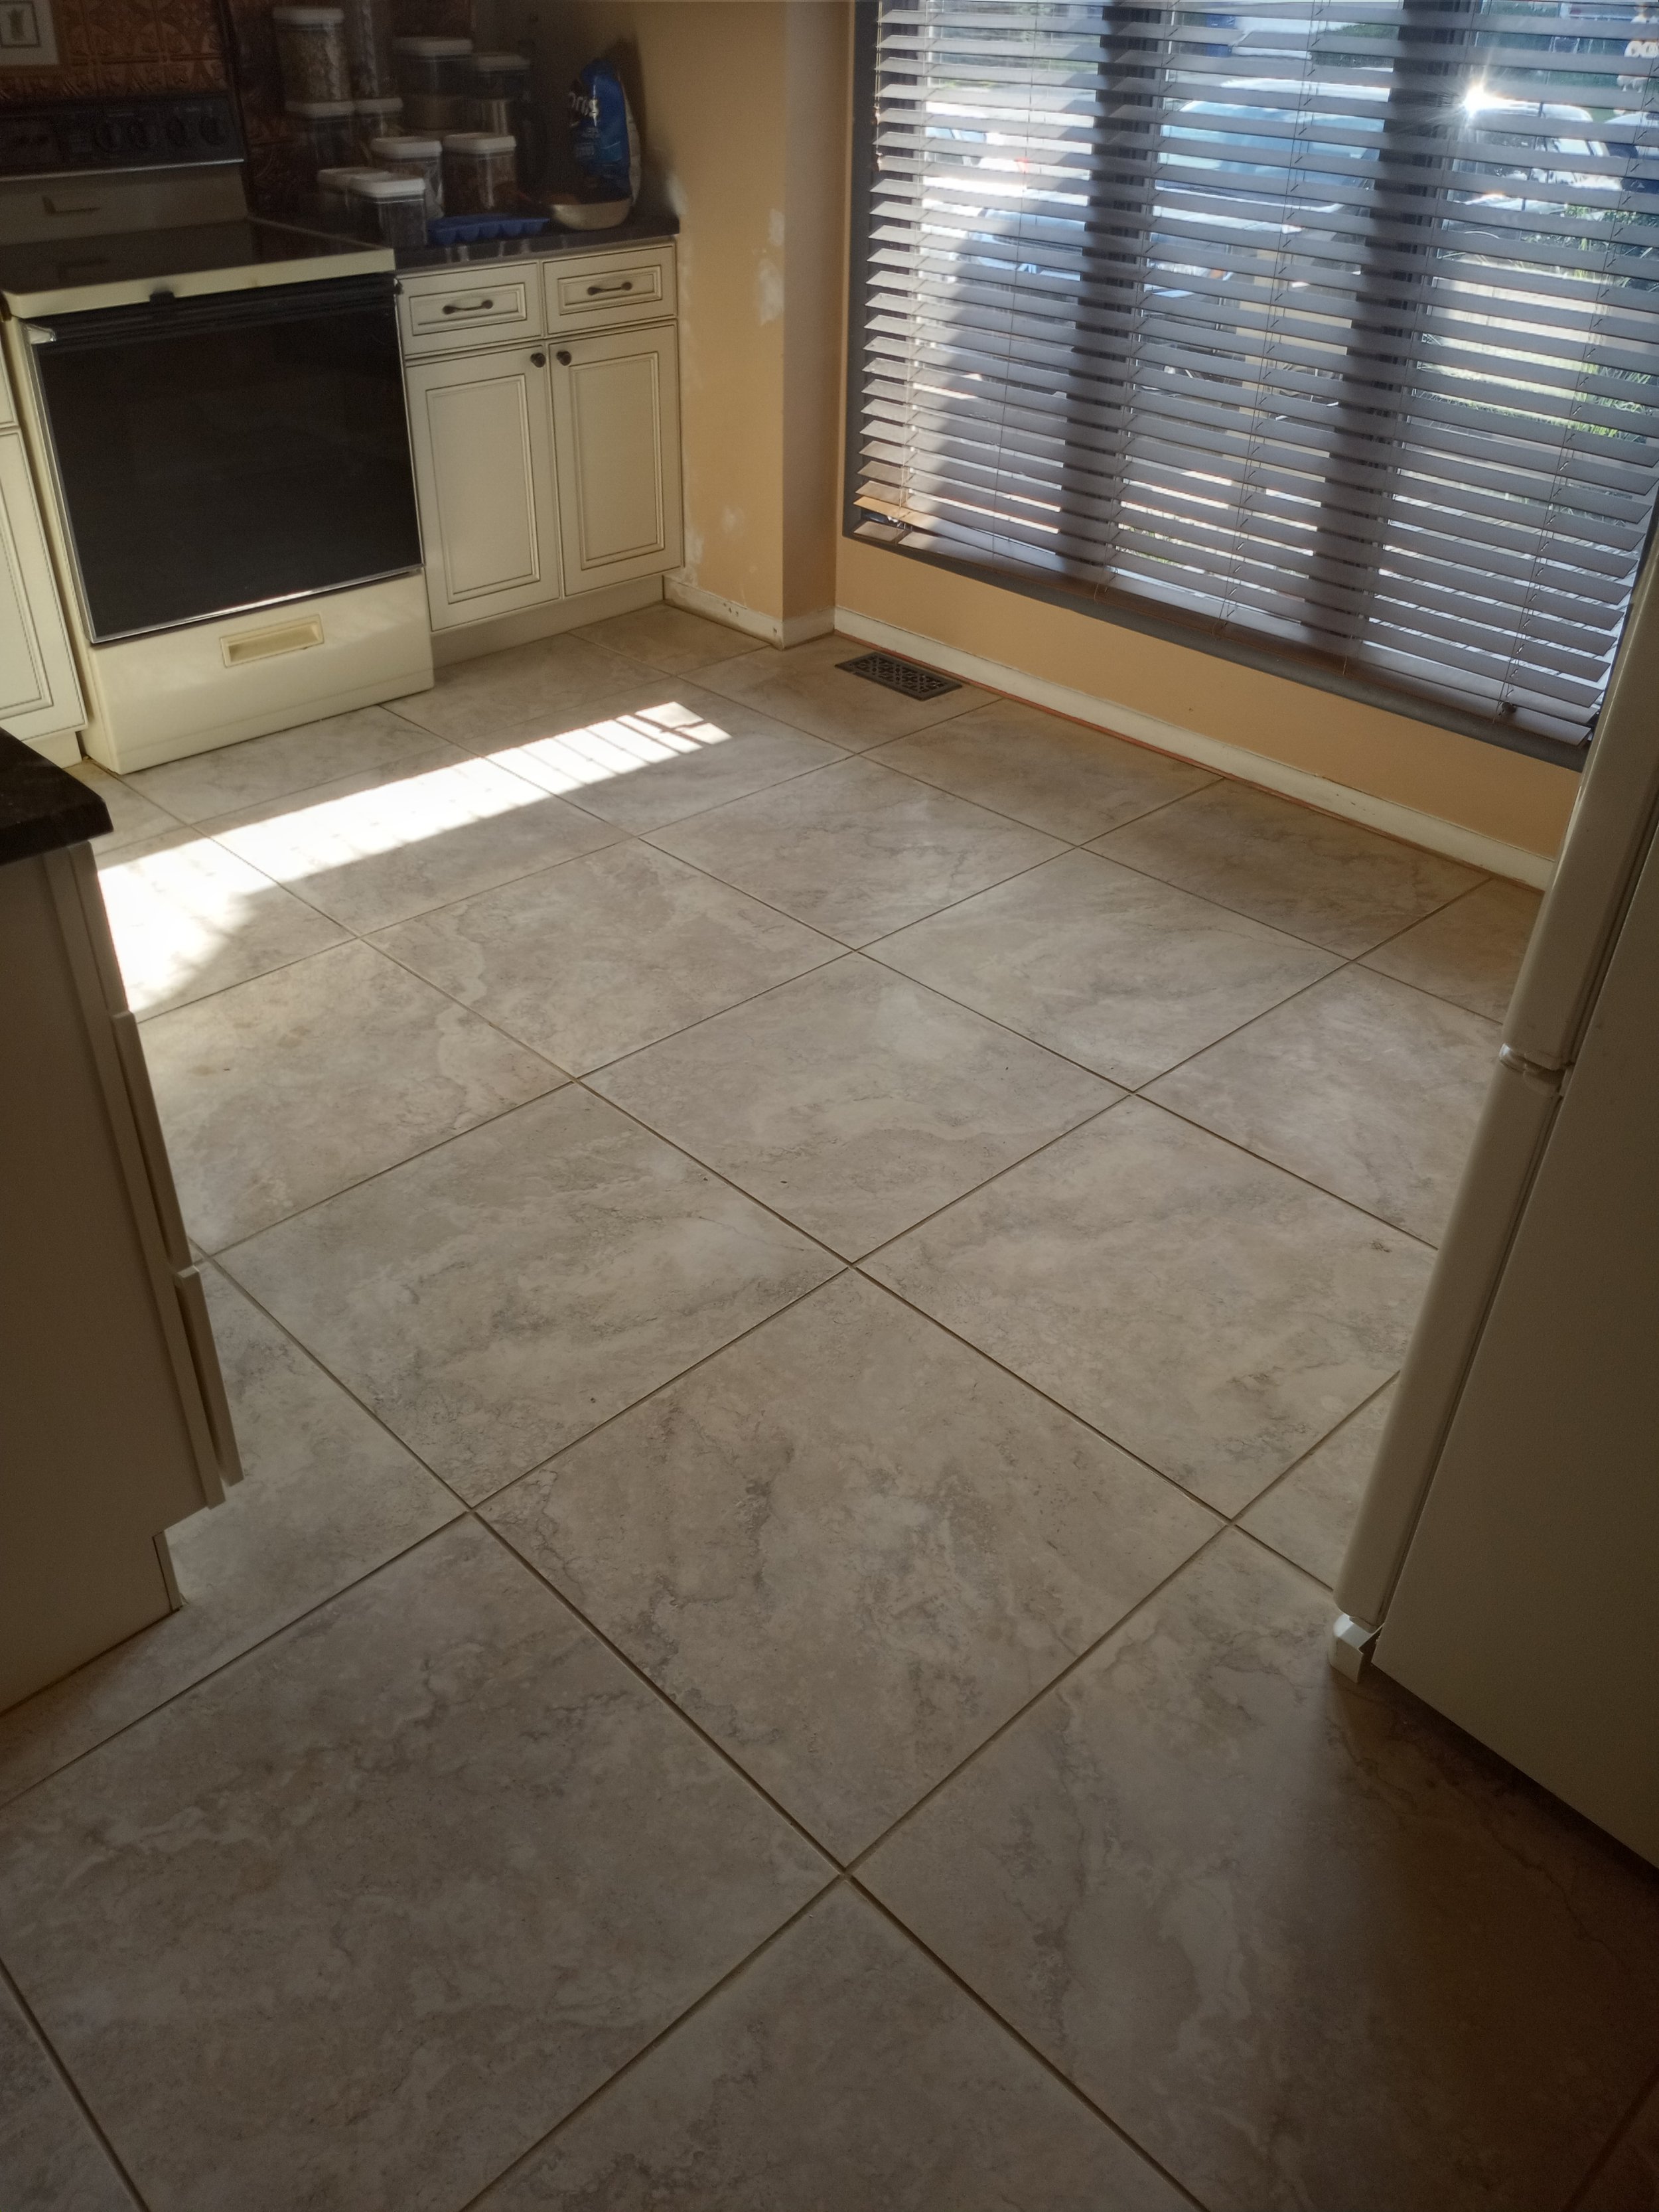
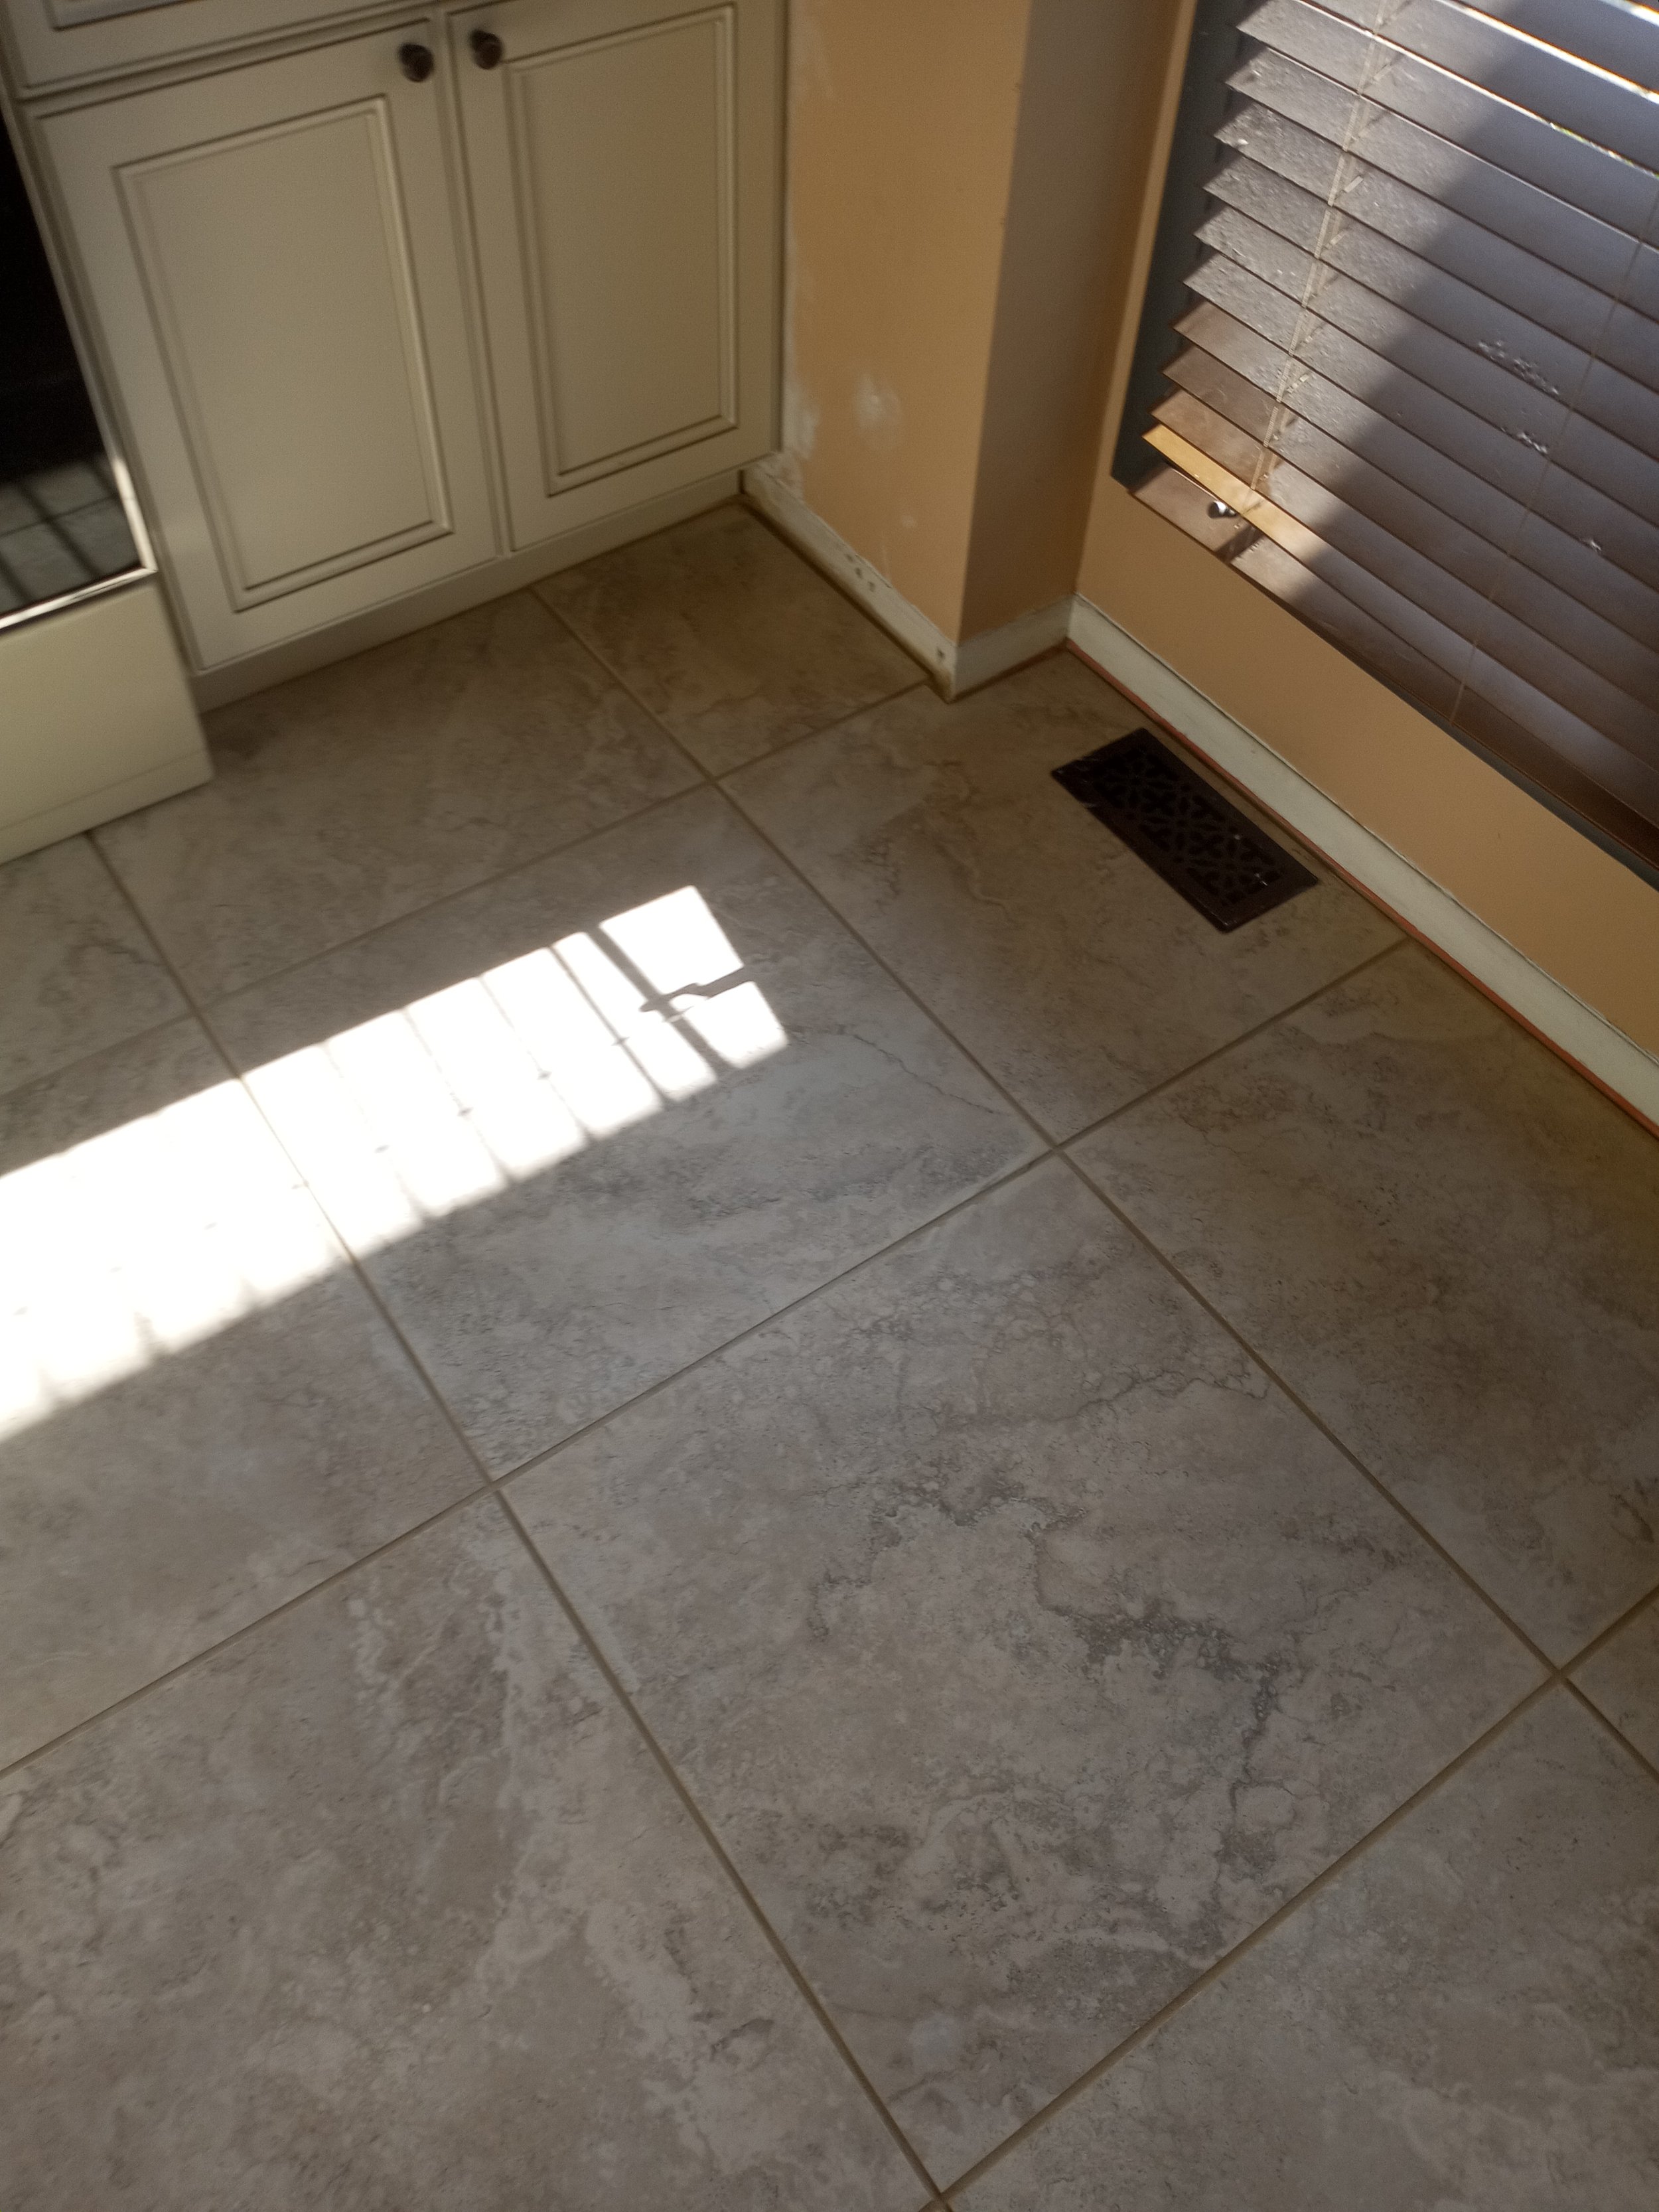
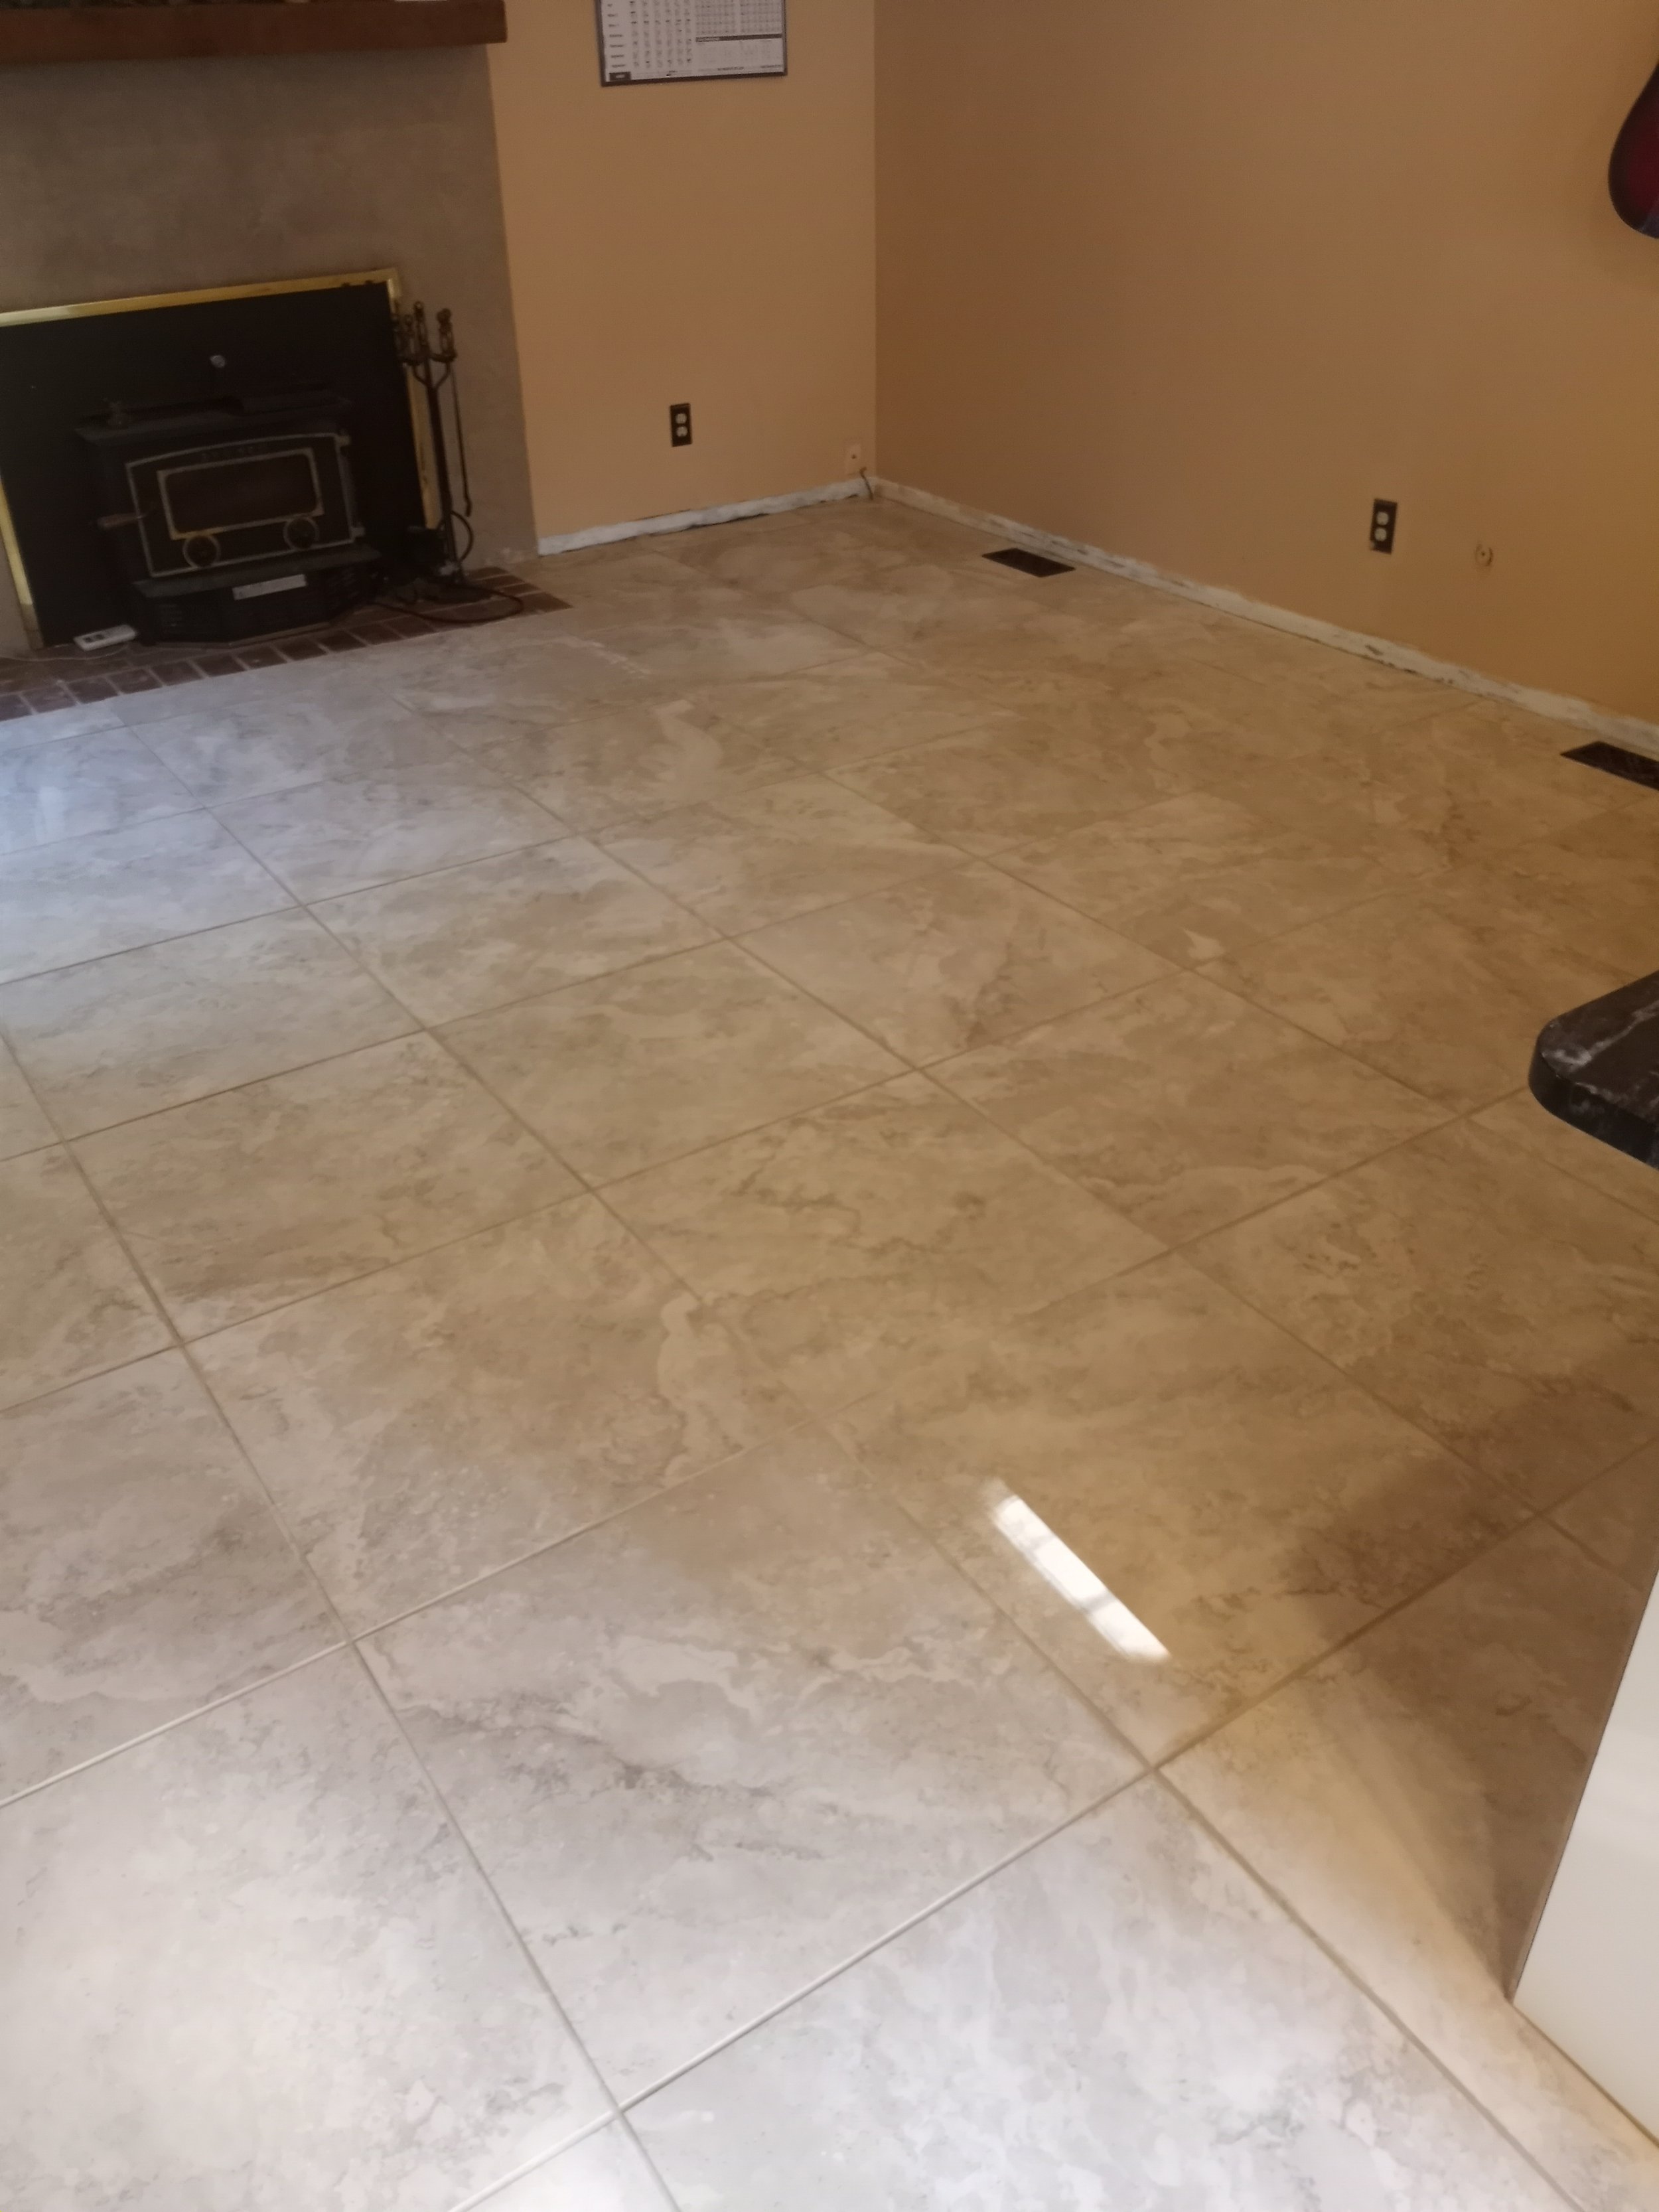
This one was back in 2021. 2 ft x 2 ft porcelain tiles. I still remember I had to rent a wet saw from home depot because the one I owned at the time wasn’t big enough to cut them. The whole thing was fun though, I did it by myself. Subfloor prep, Cement board, cutting, mudding, tiling, grouting. It was probably more than 500 sq ft so the whole thing took me a few days but we got it done and it was a good experience. The homeowners also said that what was there before was kind of like a green shag 1970s carpet. So I guess it’s quite the upgrade. I like it.
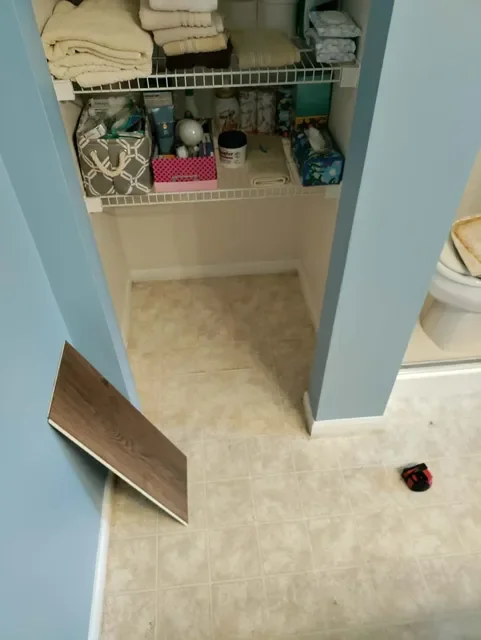
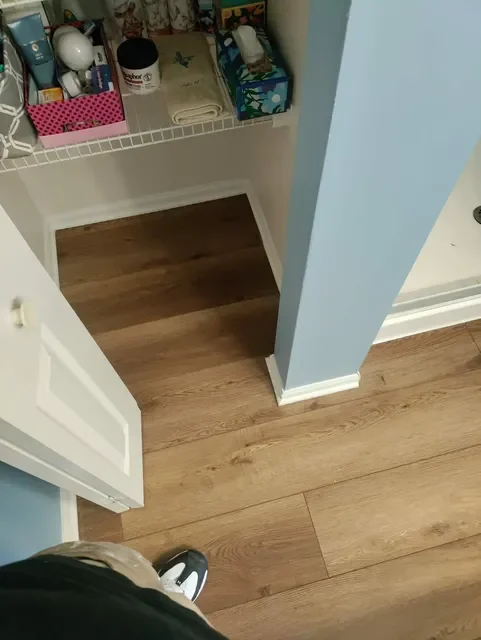
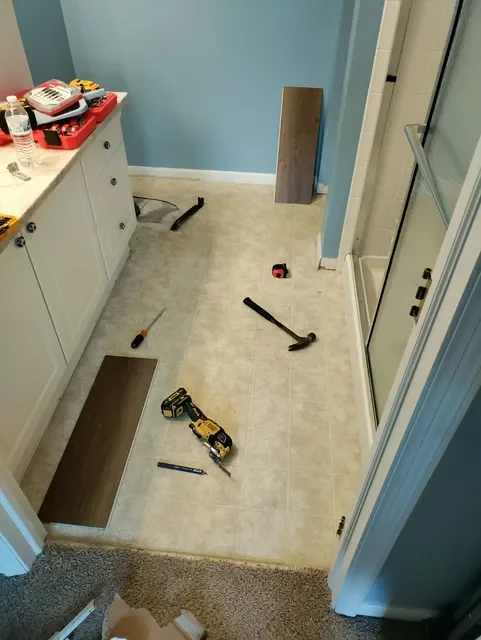
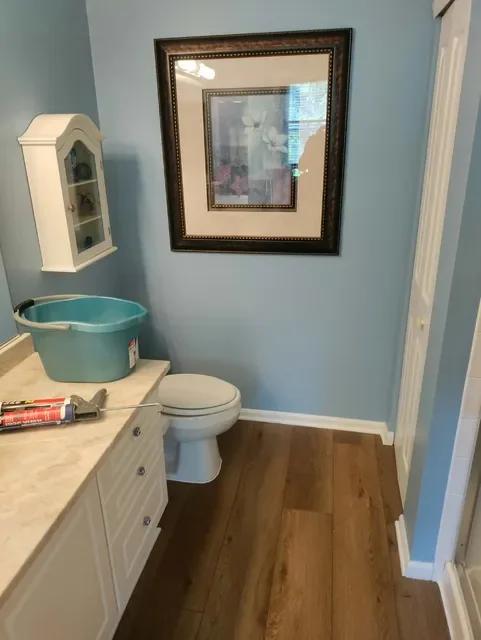
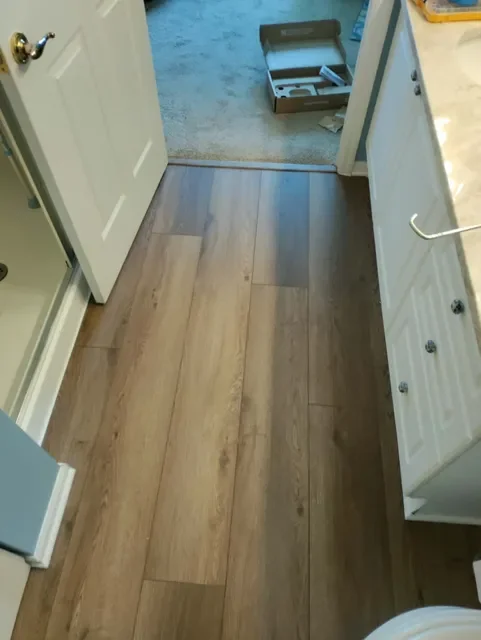
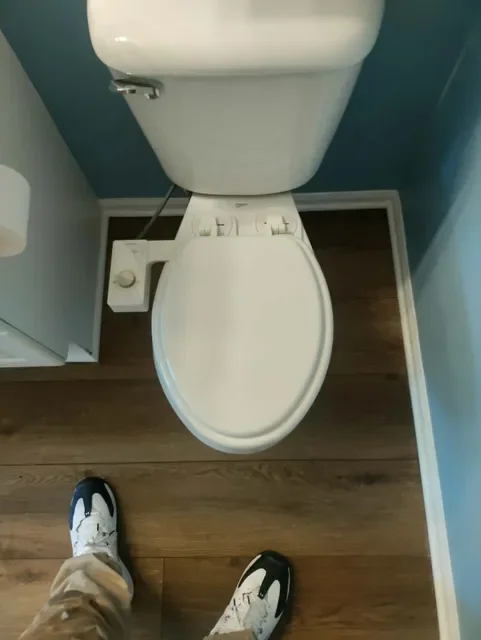
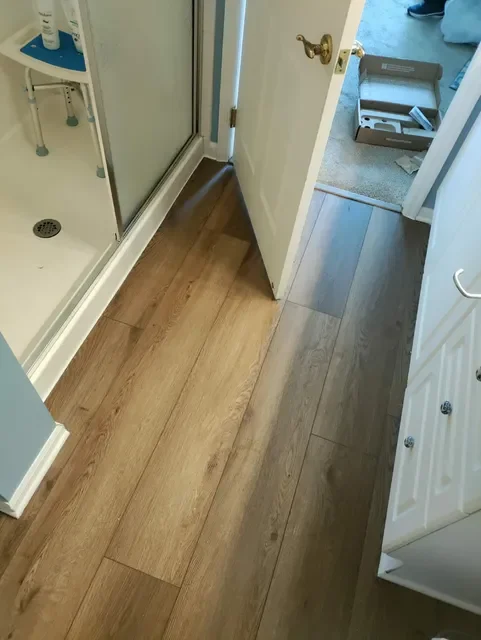
This job was a bathroom floor LVP installation, hanging a few things on the wall, and installing a toilet bidet. This was for a repeat customer and a lady who’s company I really enjoy. She asked me while in process of installing the shoe moulding why she couldn’t see the nails. I think after a discussion, she realized why I love my pin nailer so much. Haha. Anyway, it turned out pretty good. (614) 948-8263!